|
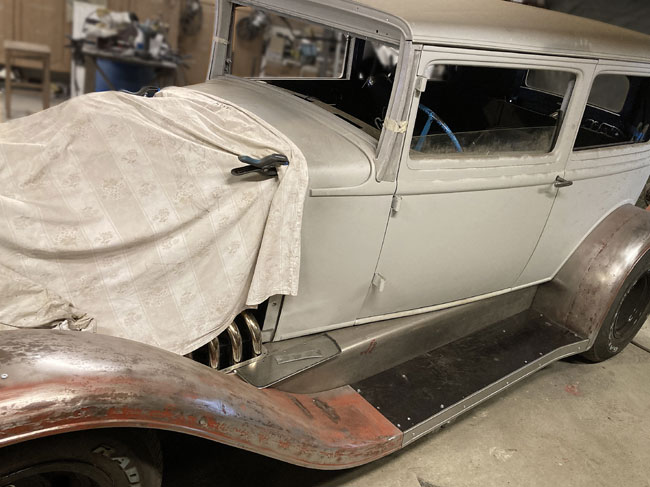
Page 2 The project begins |
|
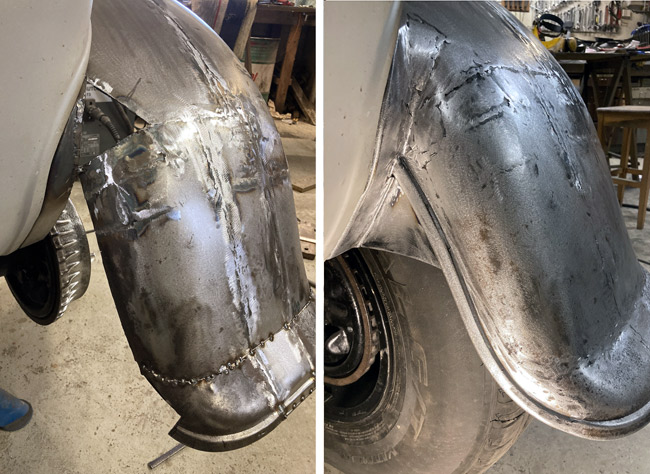
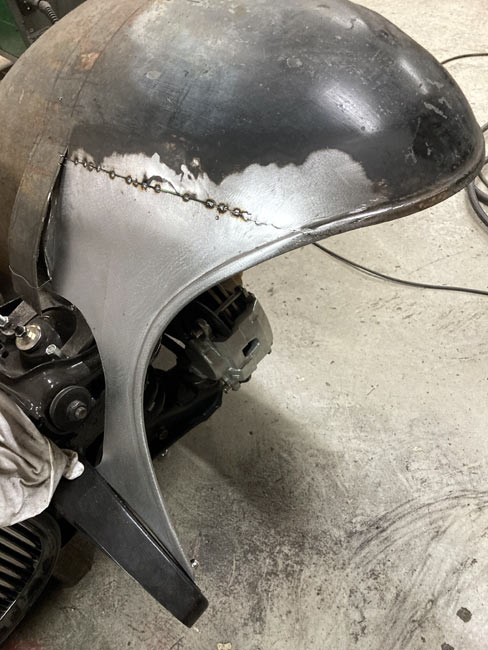
So, back in the shop work continued on the rear fender. it was cut down a bit where it had a bit of a bulge, shrunk and welded together again, the welds were ground and the fender rolled in the English Wheel.
After some hammer and dolly work it looks okay, except for the last two inches in the back, which will be adjusted and welded later together with the other fender to ge them to look alike.
|
|
|
|
The attention was turned to the right hand fender. It had to be widened a bit, and the shape of it adustedted a bit, but in the end the work went nicely,everything was welded, ground and done.
New fender edge pieces, inside and out, even the tail lip done. Looks pretty good.
|
|
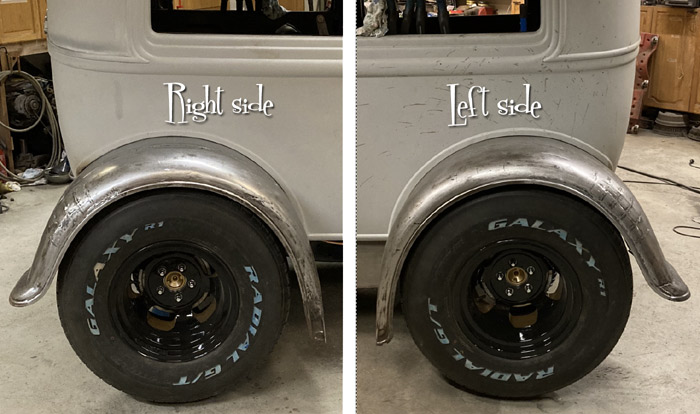
Back at it again, just starting to work on the left hand side inside fender edge, when I realized that the fenders don't look the same. The left fender looks better, so we aim to make the right hand side fender look the same. |
|
|
|
We noticed that when the front of the fender is moved, the whole thing shifts. This me ans that the running boards have to be mounted and the aprons ready to fit the fenders, or we could be working indefinitely and still not get the fenders to look the same.
The running boards were adjusted so they were parallel,
then running board to fender mounts were made from angle iron and the aprons were adjusted to fit to the rear fenders.
|
|
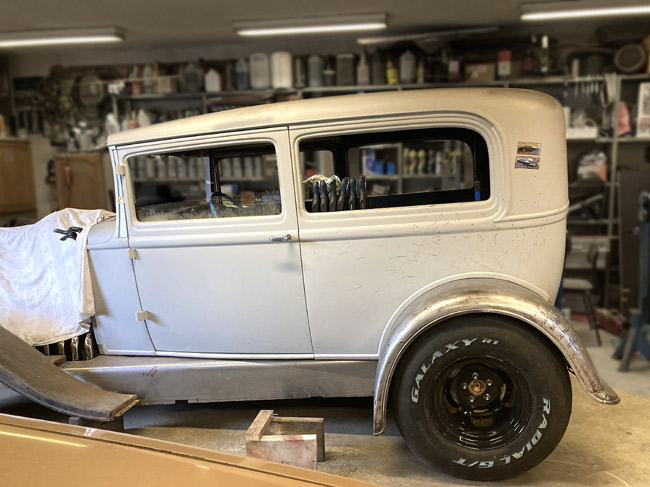
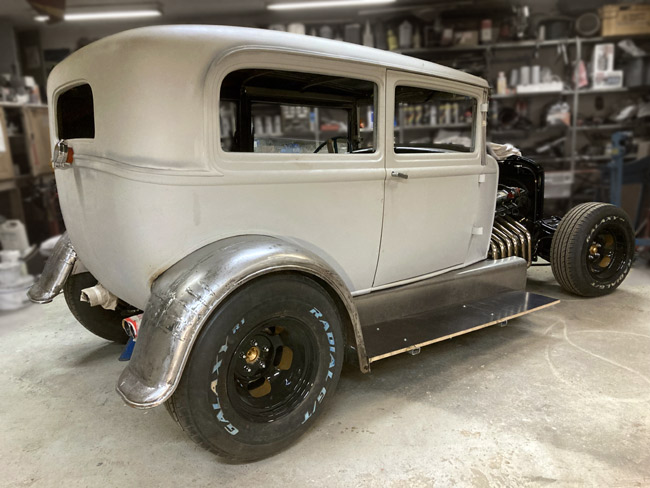
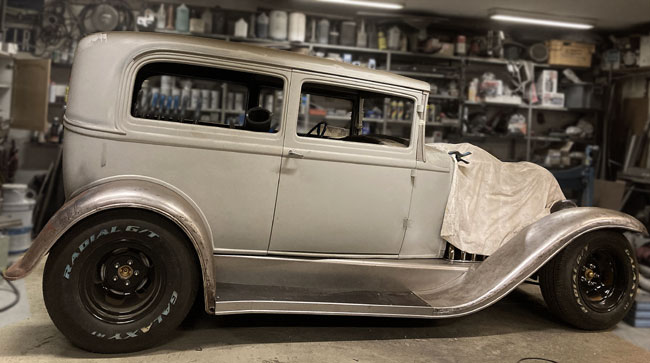
Same operation on the other side Funny how the fenders make the car look bigger. |
|
|
|
After the driver's side running board was mounted to the body and to the rear fender, finishing work on the fenders could be continued.
When the left hand side fender was adjusted, cut, tacked, and adjusted some more, it was obvious that the right hand side fender was too short. It was cut and extended 15/32", a bit more than 11 millimeters. a new fender lip was made and everything was tacked back together.
|
|
After the fenders were fully welded, they were again taken off the car, then some hammer and dolly work was done to them to smooth out most of the kinks and dents.
The sheet metal screws that so far had held the fenders to the body were discarded and they were mounted with bolts and slip rolled braces made from 3/4"x1/8" flat bar to keep the inner lips tight against the body.
|
|
|
|
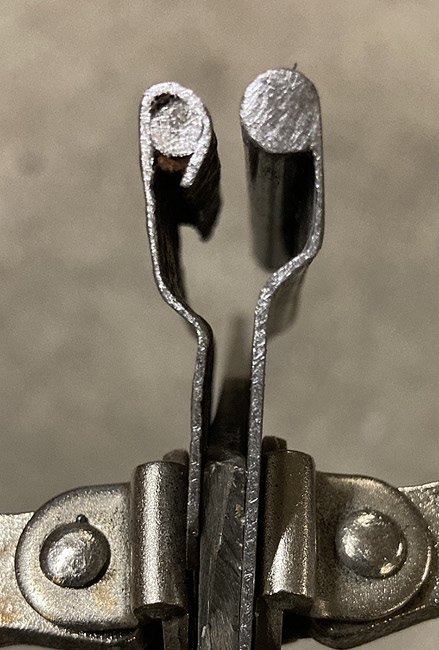
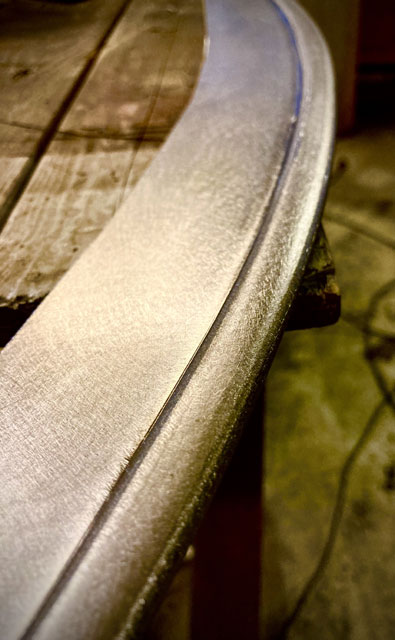
A picture of the old and new fender edges. The original fender lip is rolled around a wire.
The new ones are made by welding a 1/4" round bar to the fender lip. The result looks pretty convincing.
|
|
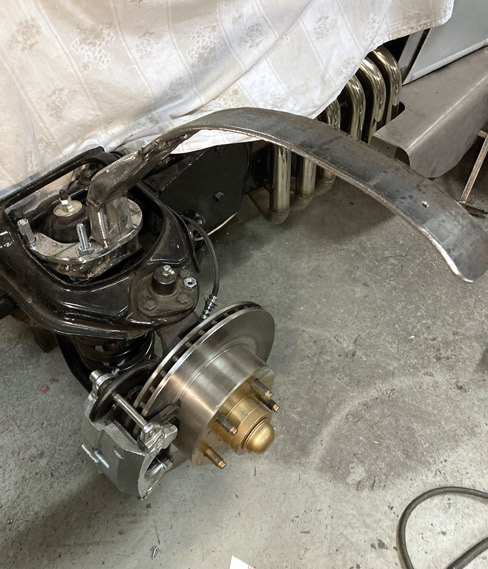
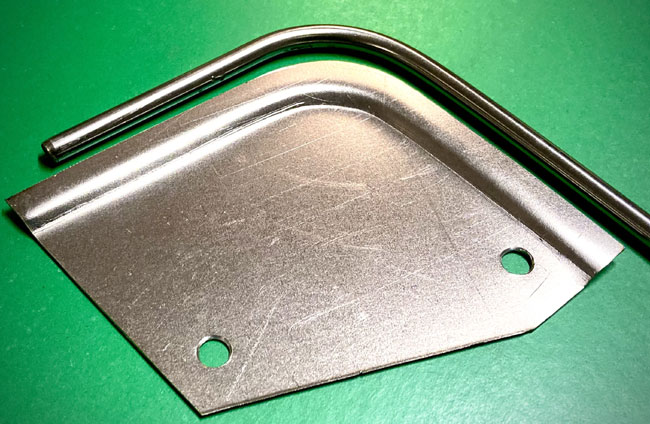
A friend came with the brilliant idea to hang the front fenders off the front spring towers. A mounting plate was cut from 3/8" thick plate. Two of the bolts are through holes, the third, outermost bolt is welded to the tower. A slim fender mount was made and put right over the top of the wheel. |
|
|
|
The fender was fastened to the new fender brace with a sheet metal screw to keep it from moving
lengthwise. It was then jigged up as the rear end of the fender was cut off
and a new fender to runningboard mount was made from angle iron.
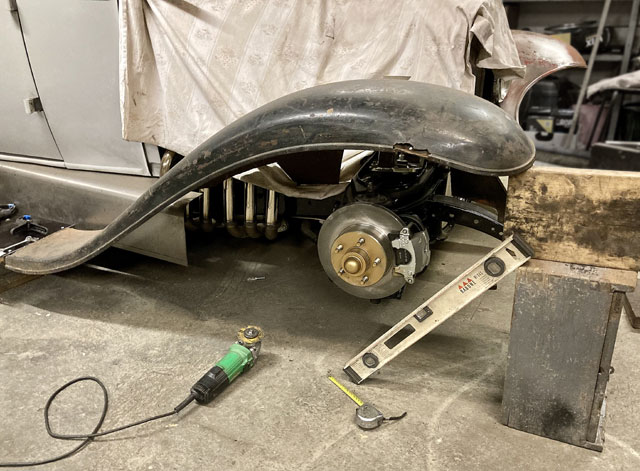
The fender was flattened and in a pretty sorry shape. It was deemed to need a bit of a deeper look, so
new fender edges with a bit different shape were made.
|
|
The new edge tacked to the fender, making it look less flat.
|
|
|
|
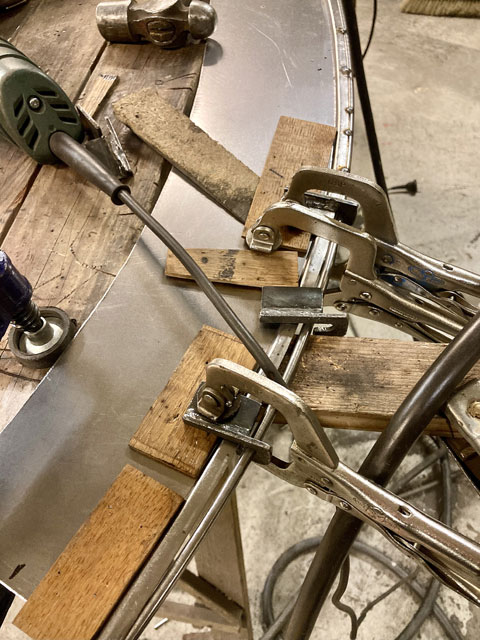
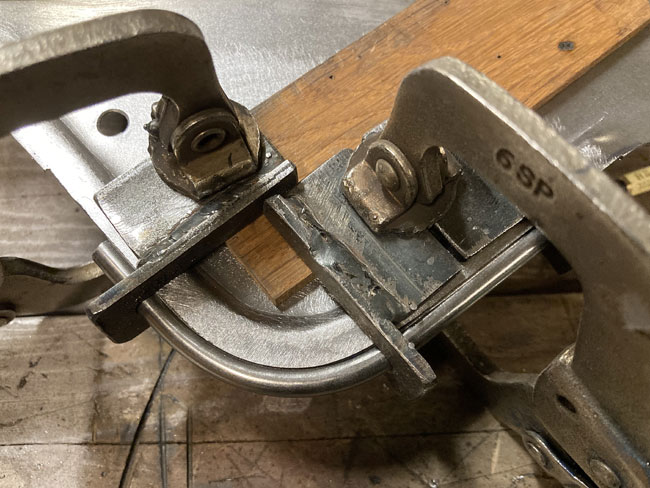
The inner fender edge coming along pretty nicely.
That 1/4" round bar is a chore to bend, but the result
is worth it.
|
|
The fender back on the car, work on the fender to apron transition was commenced. It took some
time to get any kind of workable idea for this transition, it has to be fairly neat, easy
to make and also easily disassembled for taking the fenders off the car.
|
|
|
|
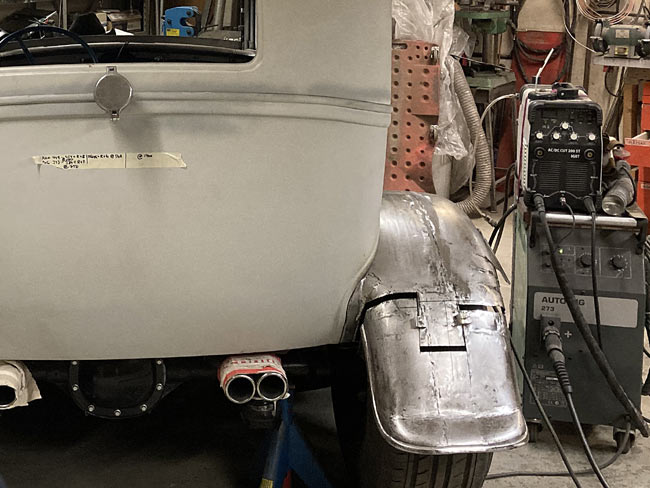
The apron was cut a bit shorter and a piece of 1/8" flat bar with bolt holes was welded to it.
|
|
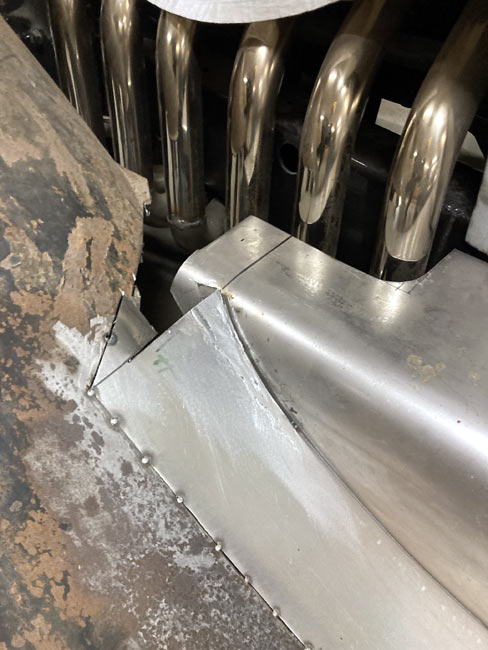
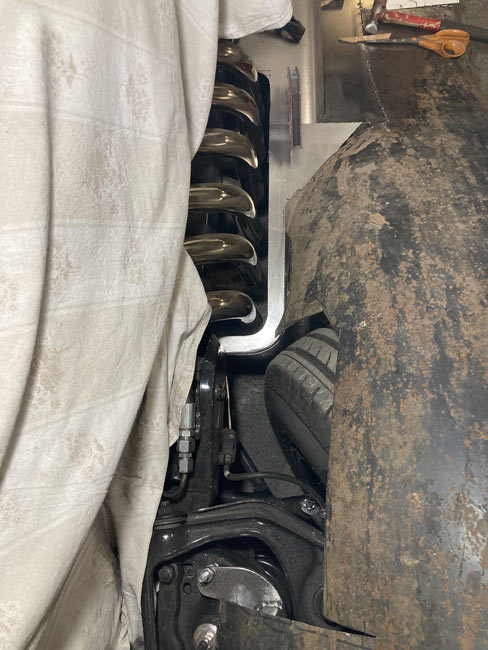
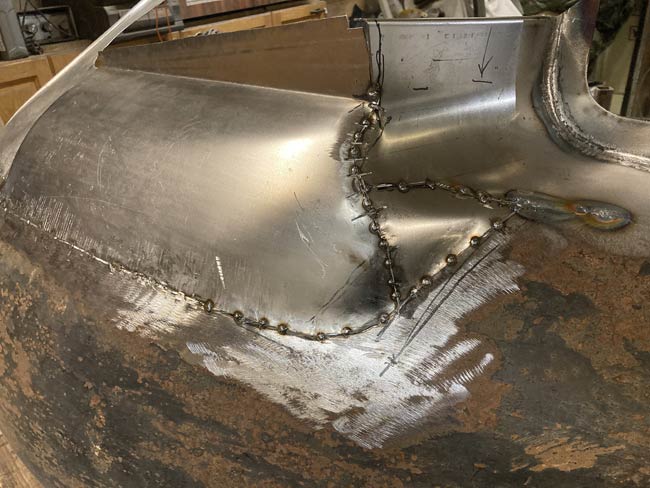
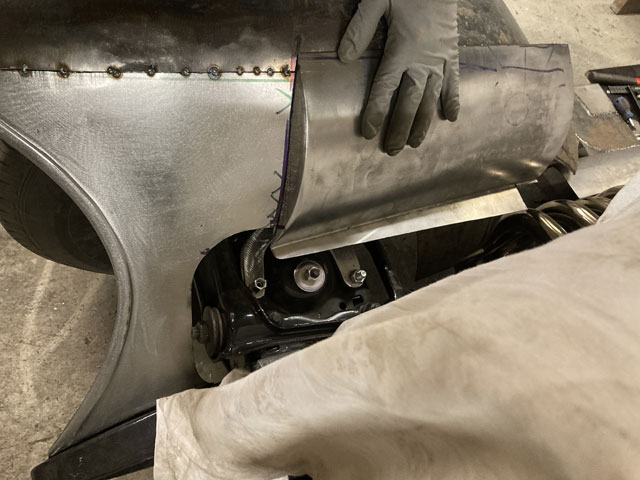
This corresponding sheetmetal part got a similar flat bar with bolt holes. It also frames the exhaust primaries as they go down through the fender and will be part of the fender itself. The wheel can be seen from above, it's turned left as much as it goes, and a hump has to be made in the fender to make room for wheel to turn and articulate freely.
A couple of parts to frame the hole for the exhaust primaries were drawn in CAD and sent for laser cutting from stainless steel.
|
|
|
|
A lot of tack welds here. All of this will be tig welded.
|
|
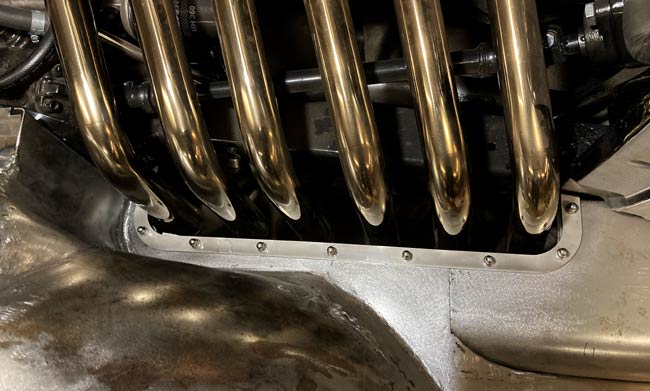
The laser cut parts were delivered a few days ago. The first one is mounted with acorn nuts. This is all stainless, and it will be poished to contrast against the planned black paint. |
|
|
|
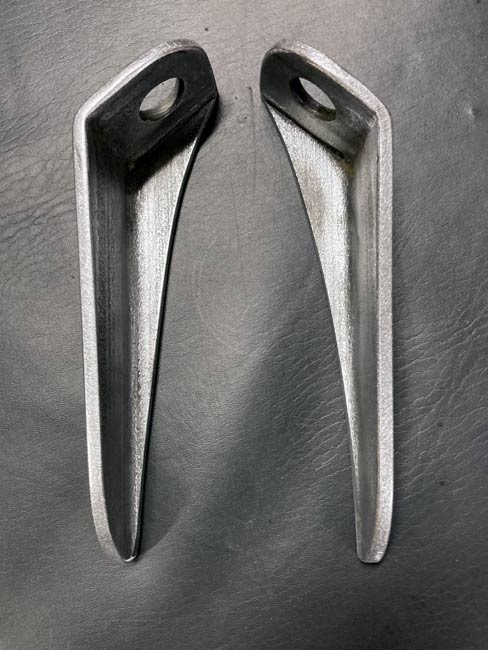
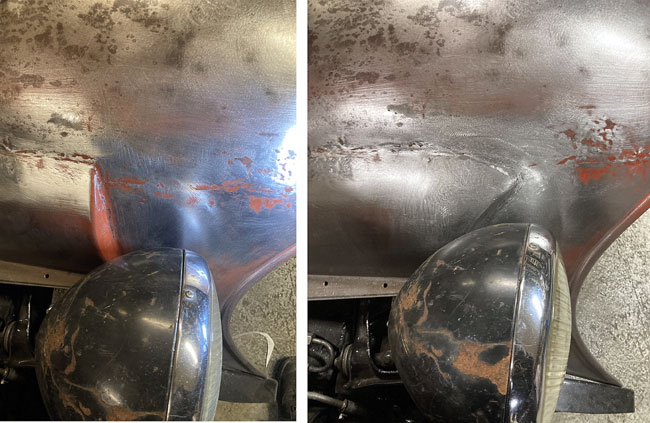
Since the fender is getting ready, it's time to think about the head light mounts.
There seemed to be no way to mount them as low as desired before an idea to mount them at an angle popped up.
|
|
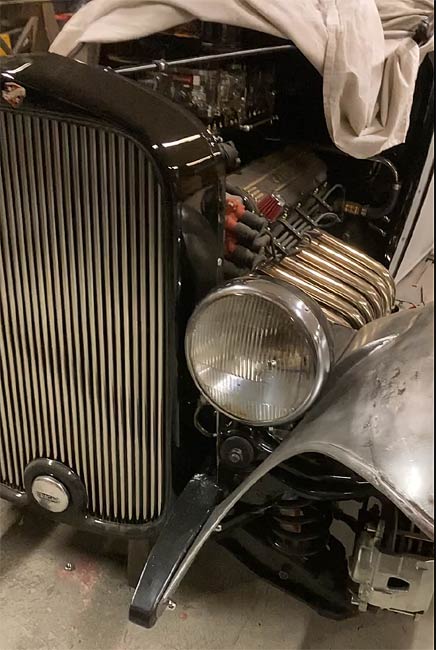
As luck would have it, the glass was easy to turn level, so now the head light
looks normal and sits nice and low.
|
|
|
|
Both headlights mounted and the right hand side fender somewhat positioned, here's a first real look at what the front will look like.
|
|
As luck would have it, the glass was easy to turn level, so now the head light
looks normal and sits nice and low.
|
|
The 1/4" rod is tacked to the bead rolled fender edge. |
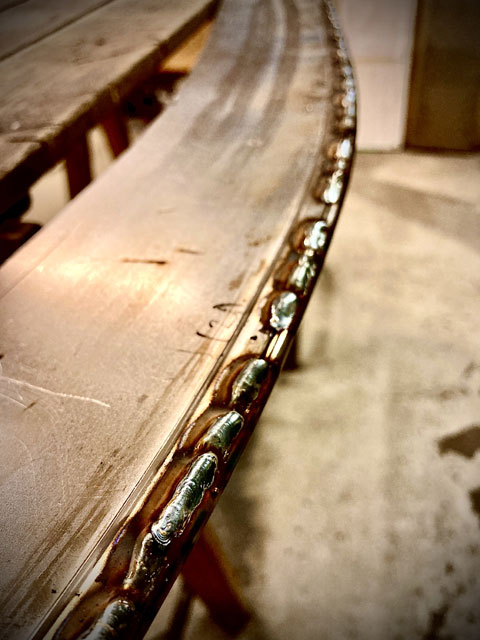
The edge rod mostly welded. |
The weld ground and the resulting fender edge. |
|
|
This is the second fender edge. The first attempt was a failure, the swoop didn't look right. A deep breath and another try. This time it looks better. |
|
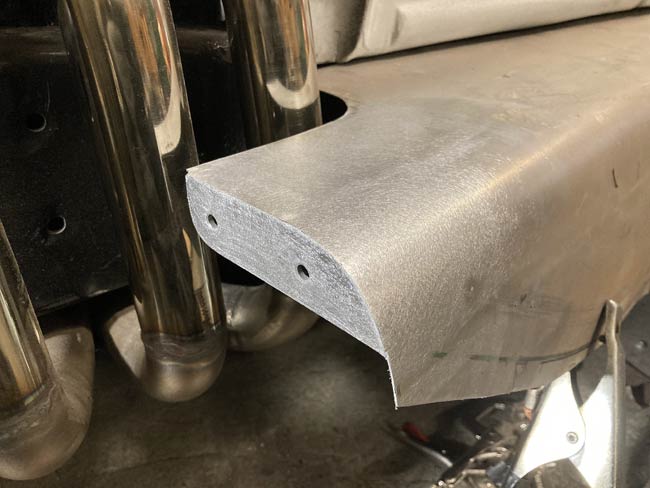
The "bulge" ready to fit to the fender.
|
|
|
|
Yes, now it looks right. Now on to welding everything. There's a lot of welding to do on this fender |

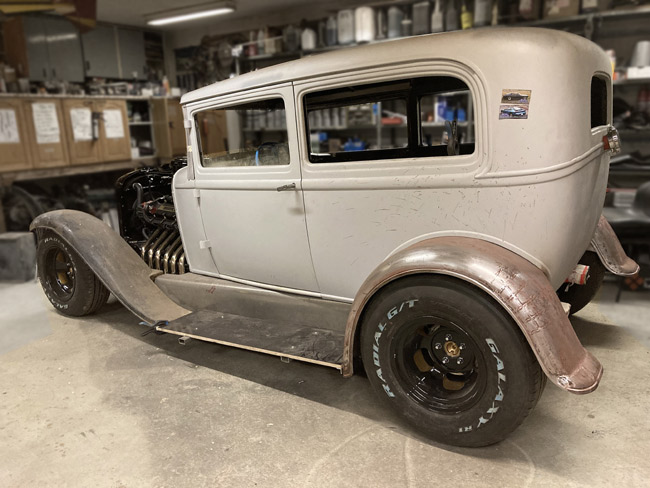
All four fenders finally done. Almost done.
|
|
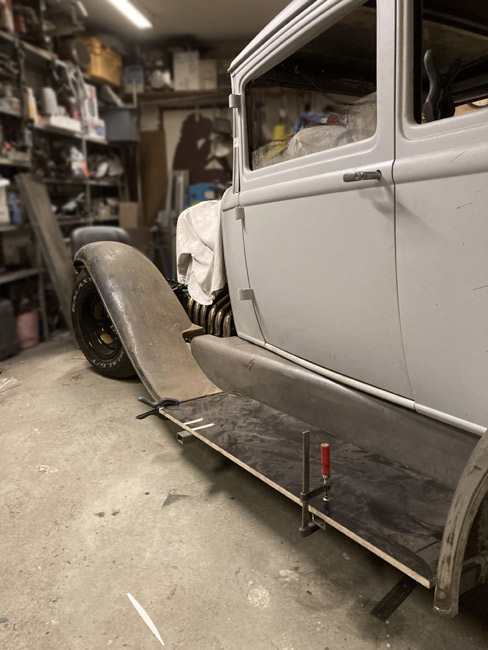
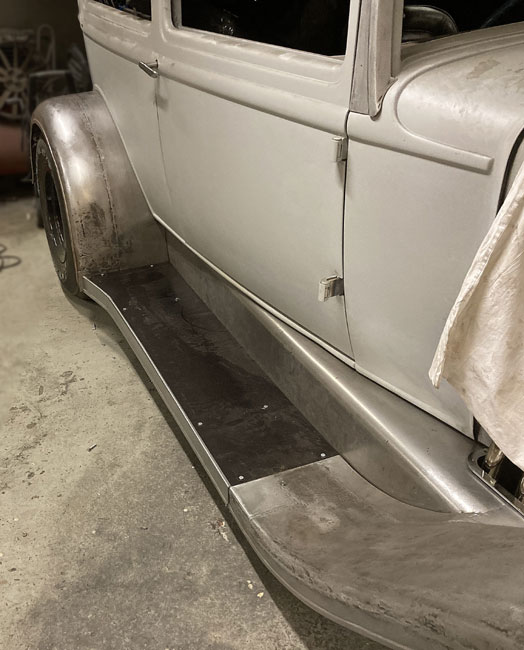
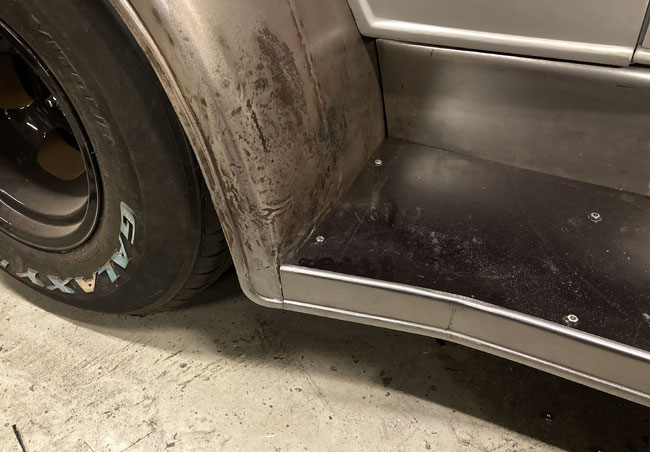
Work was continued on the right hand side running board and its associated parts. The previously made moldings were bent on a big sheet metal brake.
Then the molding was bent along the side of the cut down to size runningboard.
|
|
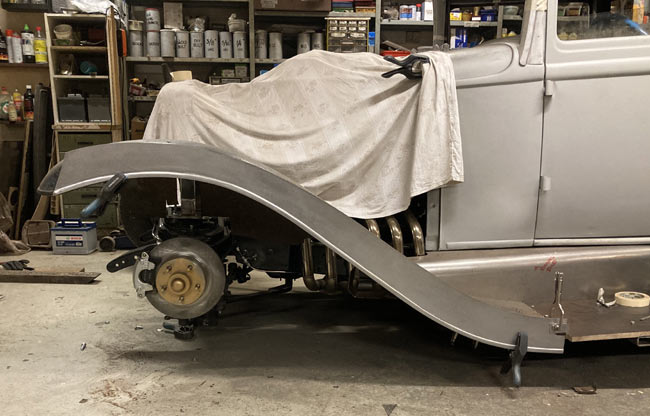
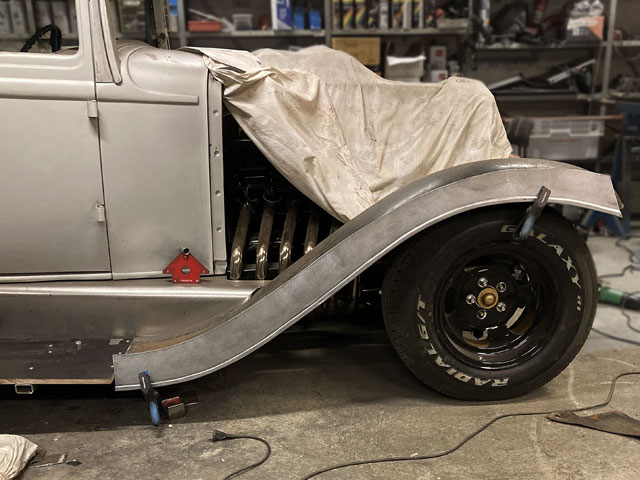
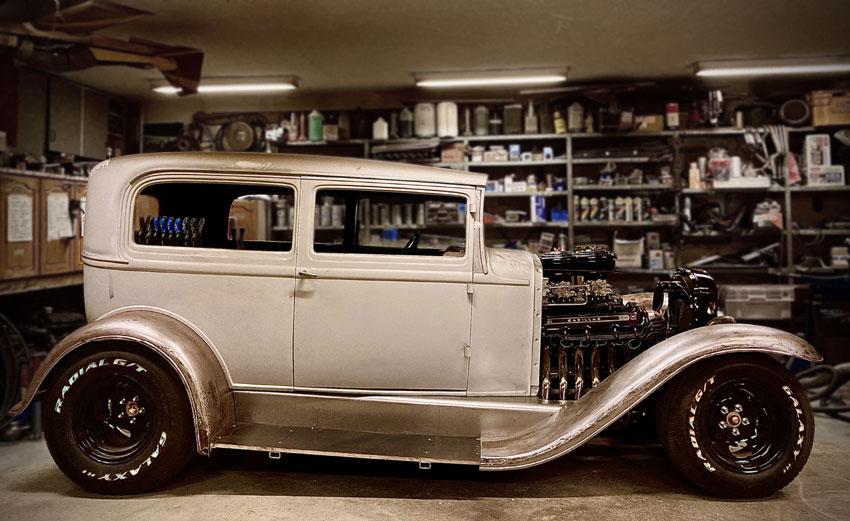
This made the sideview feel more finished, since it makes the the front fender
look like it continues along the runningboard.
|
|
|
|
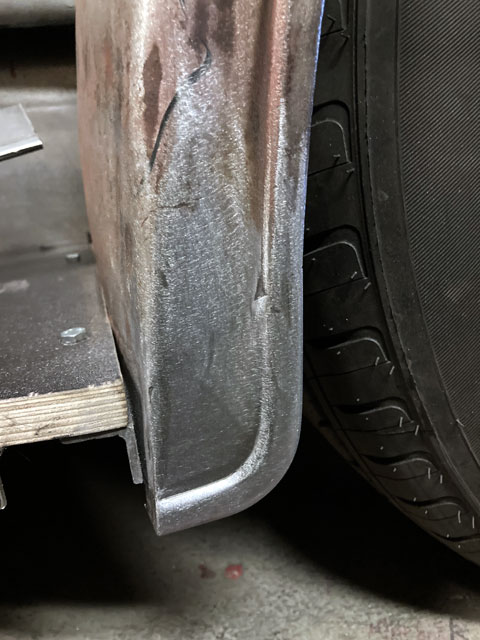
Then a press tool was made from some scrap metal lying around in the shop. Now the little piece that is missing
on the bottom of the rear fender could be done.
|
|
A piece of 1/4" round bar was bent, fitted and welded to the new pressed part. |
|
|
|
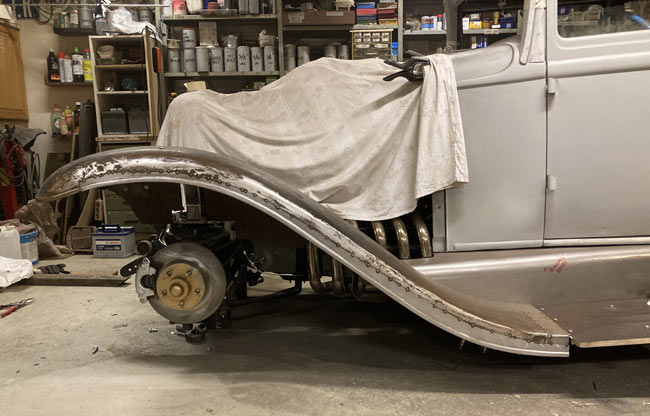
Some cutting, welding and grinding later the rust is gone and the fender fits much better to the running board molding. |
|
The front fender bulges, needed to make room for the wheel at full lock steering and the front fender mount, didn't look that great. Now they look a bit better, the general shape of the front end of them kind of mimicking the shape of the fender edge.
|
|
|
|
The driver's side front bottom corner remade to fit the running board molding here |
|
The running boards on both sides have gotten mounts for the moldings and they got holes, so now it's all bolted together. |
|