|
Page 2 The project begins |
|
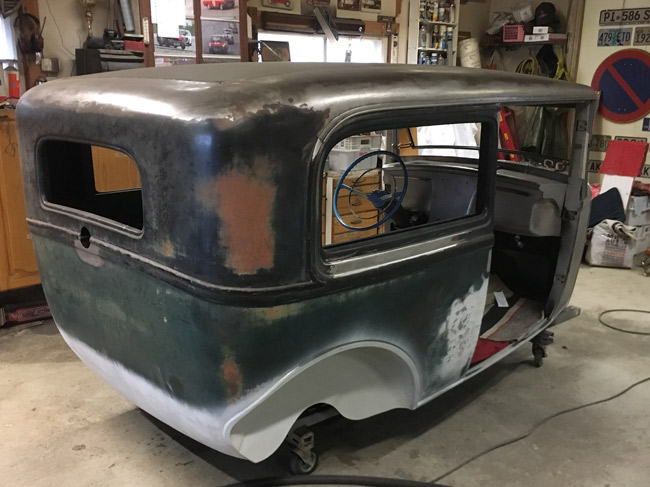
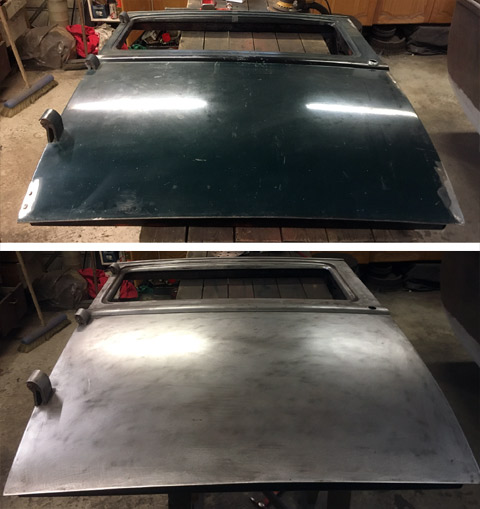
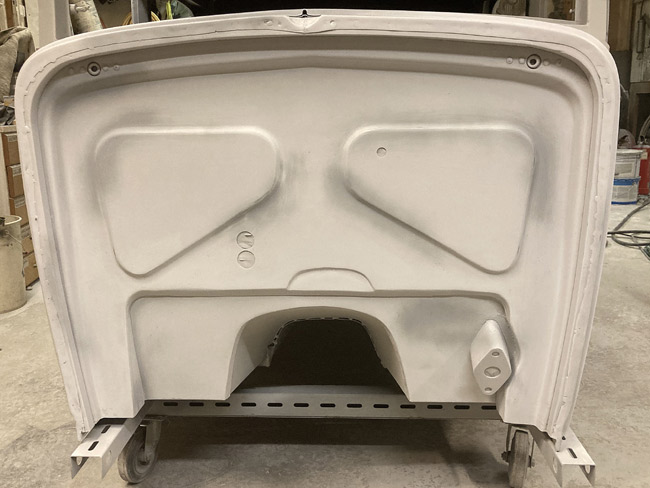
Time for bodywork. This is what we started from. |
|
|
|
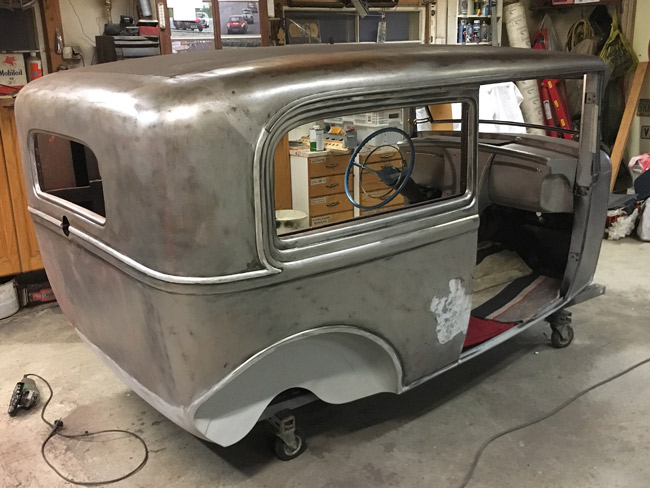
The whole body was sanded down to bare metal with 80 grit. |
|
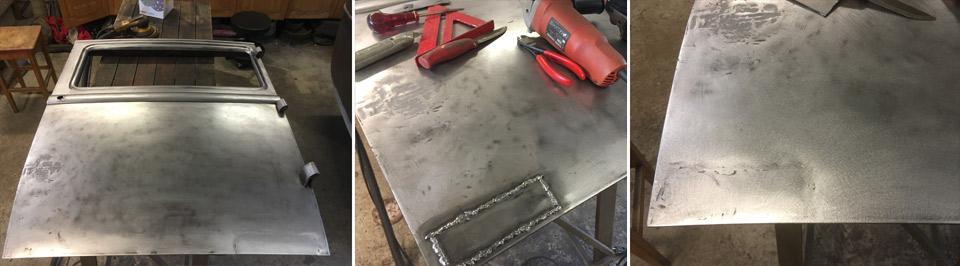
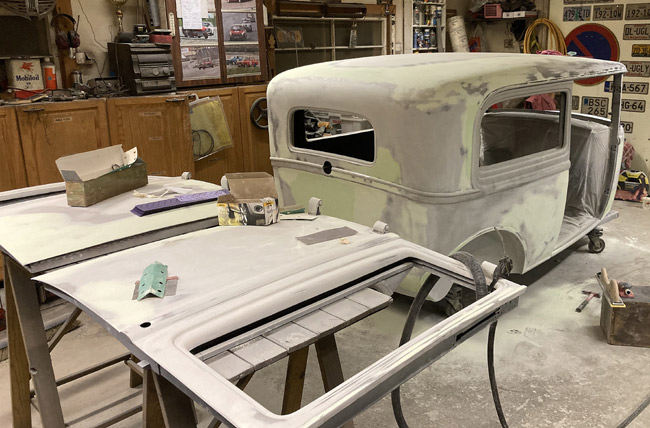
The right hand side door had a patch done earlier, but more rust was discovered and an other one was made. |
|
|
|
|
Luckily the driver's side door was in good shape.
|
|
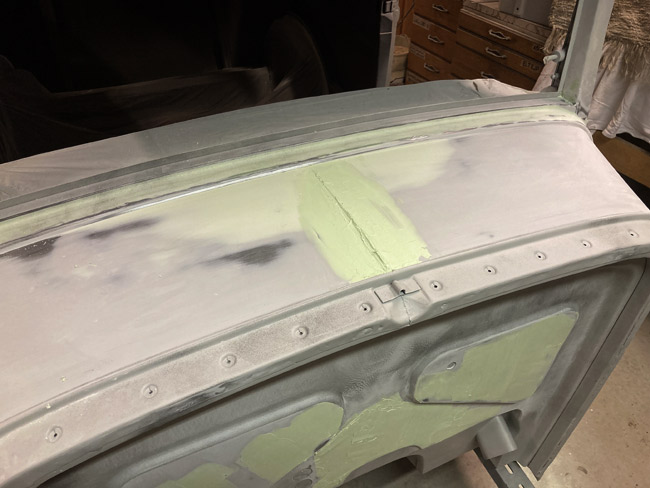
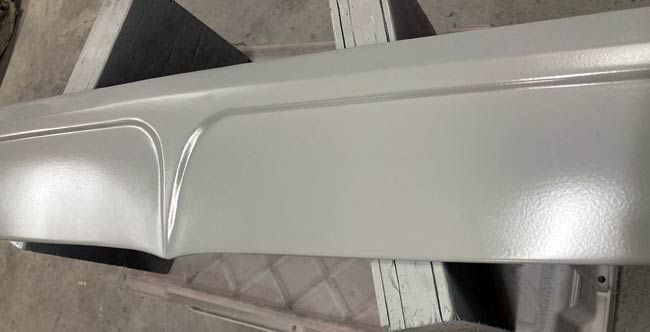
Just for fun an enhanced feature that originally was all but invisible was made aft of the hood hinge line on the cowl. |
|
|
|
After shaping and sanding some primer was sprayed on to get a look at the result.
|
|
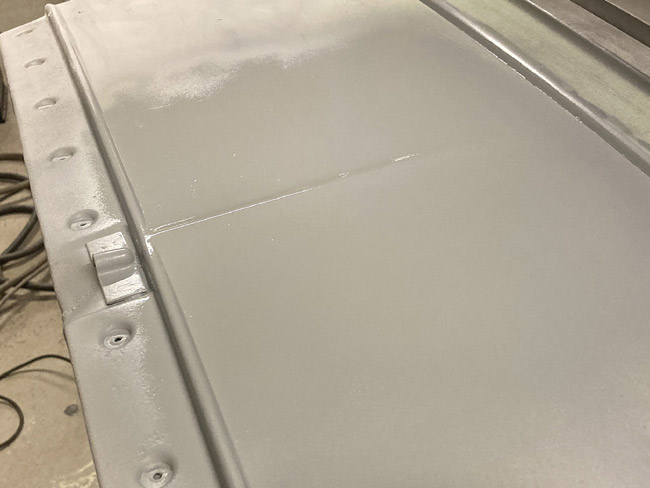
Many endless days later the bodywork was deemed "good enough" |
|
|
|
The firewall was block sanded with 180 grit, then smoothed with 360 grit and prepared for paint. |
|
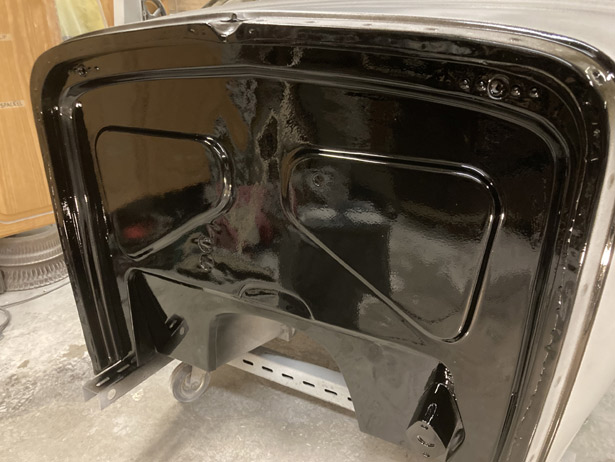
The following day it was sprayed with Glasurit gloss black. |
|
|
|
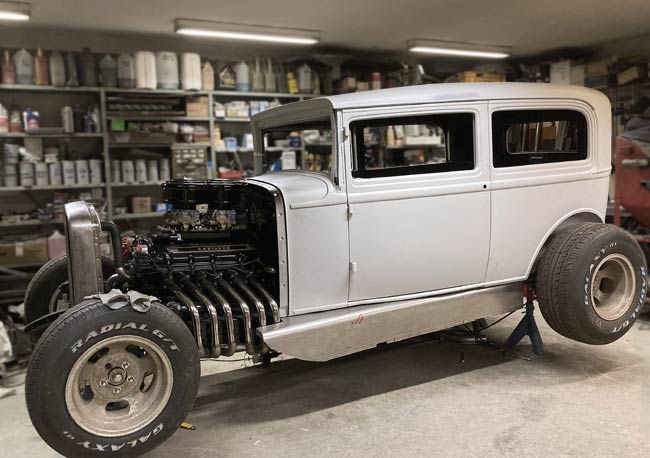
The body is now bolted to the frame. Driver's side door fits nicely, but the right hand door, not so
much. It needs a shim under the B-pillar.
|
|
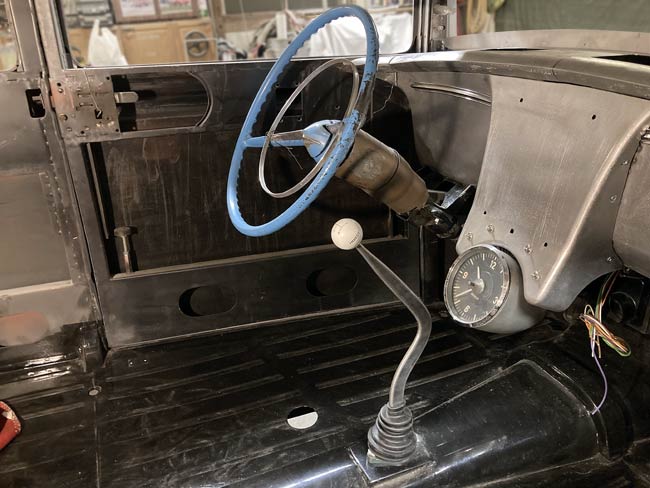
The steering shaft is properly mounted to the steering box, just the top most universal joint
is loose still, since it will come ut again for tidying up the steering column before final mounting.
|
|
|
|
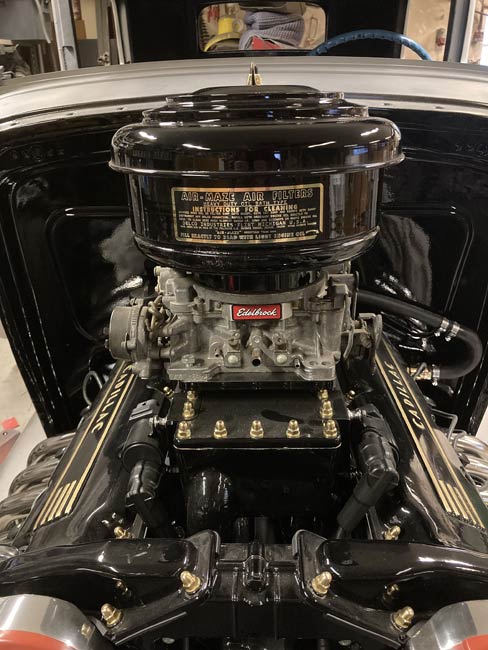
Gold text on black background "AIR MAZE AIR FILTER" sticker.
|
|
Some work fitting electricals and plumbing has been done. It felt like a lot of space to begin with, but it will be pretty packed here when all is said and done.
|
|
|
|
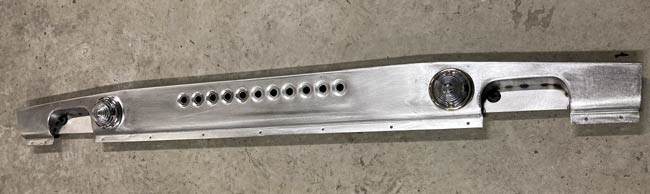
The roof panel got done, ready for bodywork, with holes for rubber grommets for the wiper motor wiring drilled, and twin dome lights.
|
|
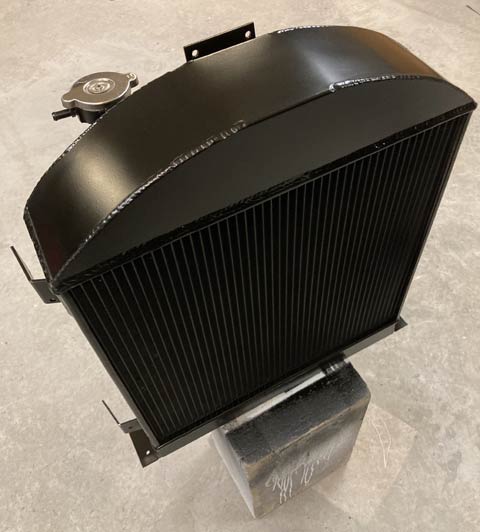
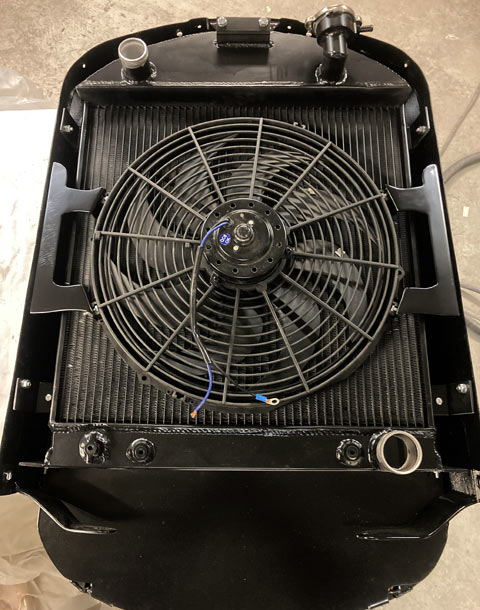
The radiator was painted with first a thin coat of epoxy, then semi gloss black.
|
|
|
|
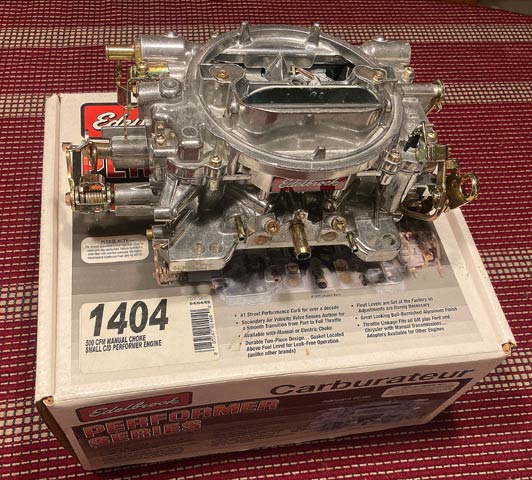
An unused Edelbrock 1404 500cfm was found on FB Marketplace, so we finally have the pair.
|
|
The visor along with the grille shell and the windsheild frame got another coat of epoxy, then sanded and painted gloss black. |
|
|
|
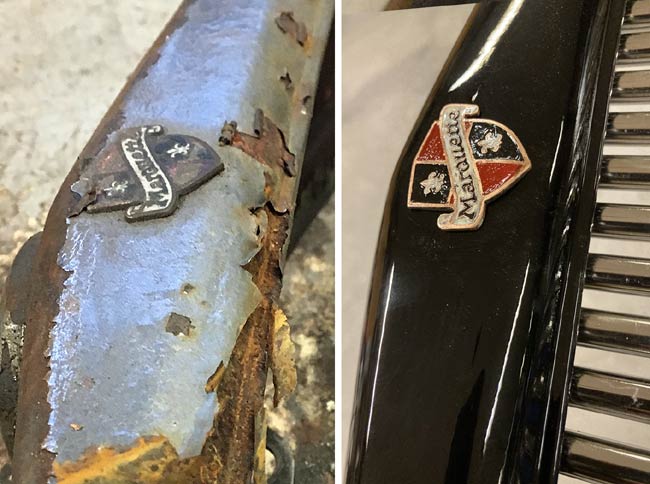
The top of the grille sideways here. Before and after. The flaking chrome was scraped off, first with a knife, then with whatever worked. Old chrome can be stubborn to get off, it was a chore. The tiny Marquette badge was painted with enamel.
|
|
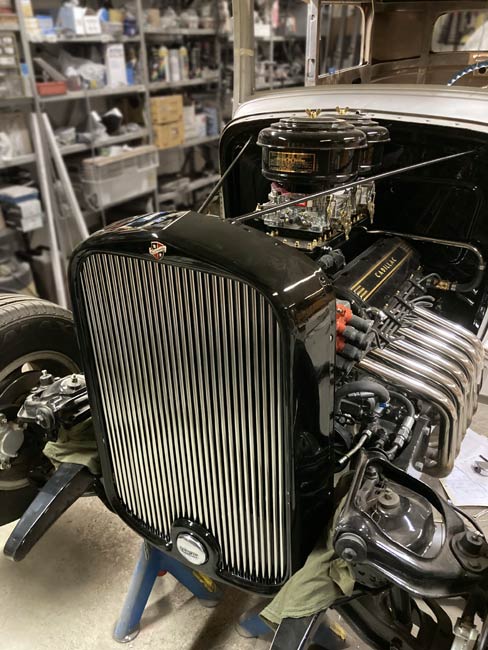
The complete grille assembly with radiator, grille shell, chromed tube grille and all, trial fitted for the first time. |
|
|
|
Grille off again to make mounts for the newly acquired fan.
|
|
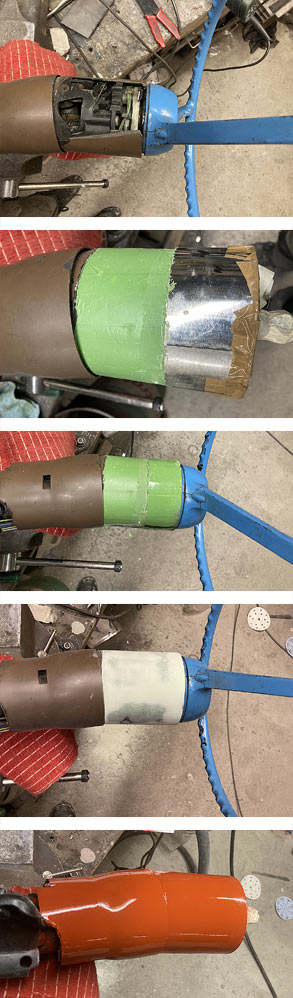
After cutting and grinding away the ugly things on the steering column, the thing didn't look pretty. |
|
|
|
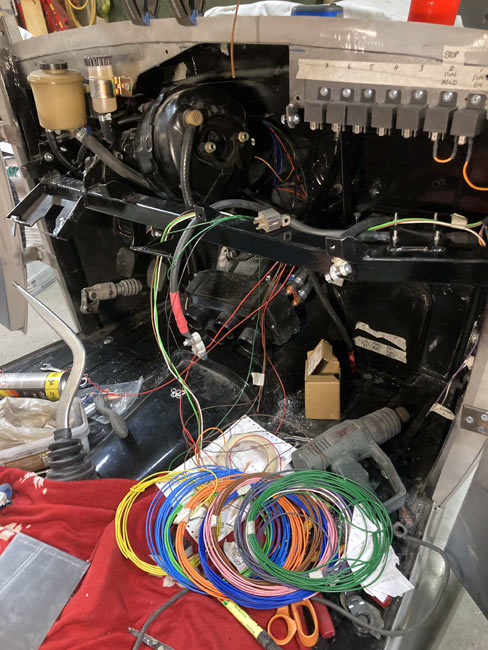
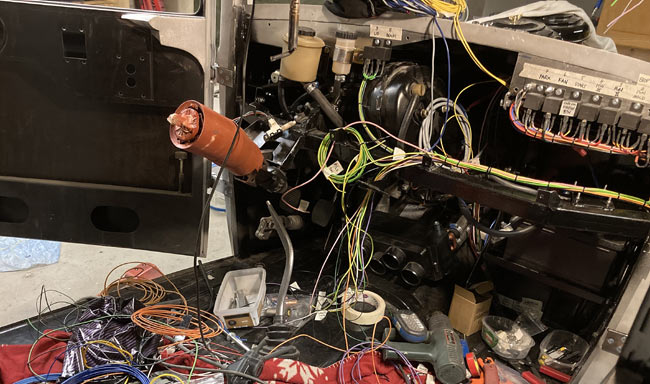
After removing the top of the dash a row of relays were mounted to what would have been the original dashboard. The ECU that will provide spark advance, is mounted behind the brake booster in this pic (not visible), and the Crank trigger, ignition coils, vacuum signal hose etcetera are connected. |
|
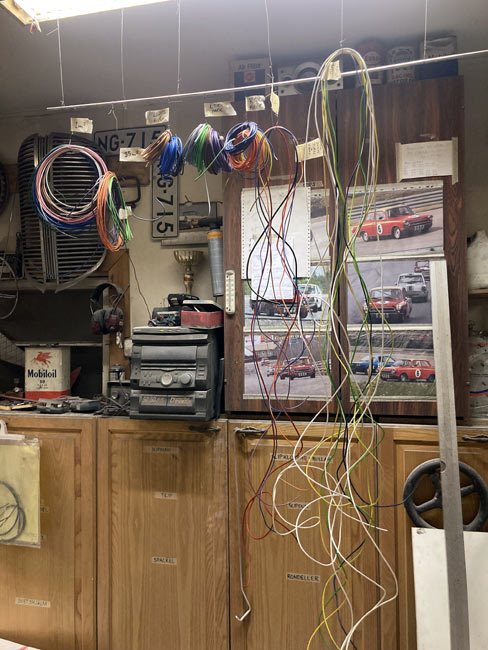
Wires cathegorized by gauge (square millimeterage) and marked for intended use, for easy access when materials for the various circuits are needed |
|
|
|
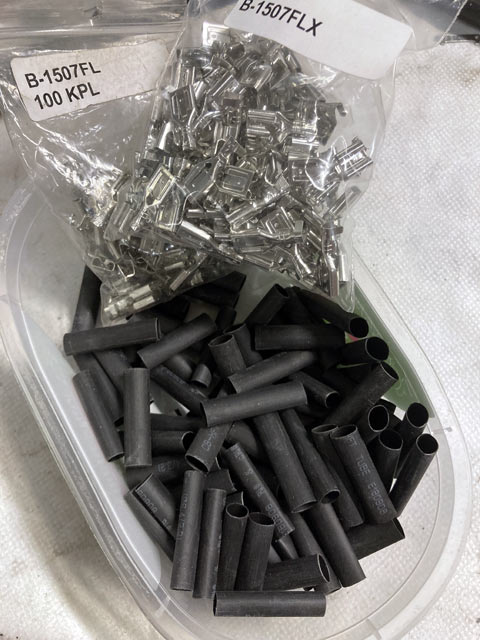
A couple hundred spade connectors and heat shrink tubing and we're in for some serious electricity action here.
|
|
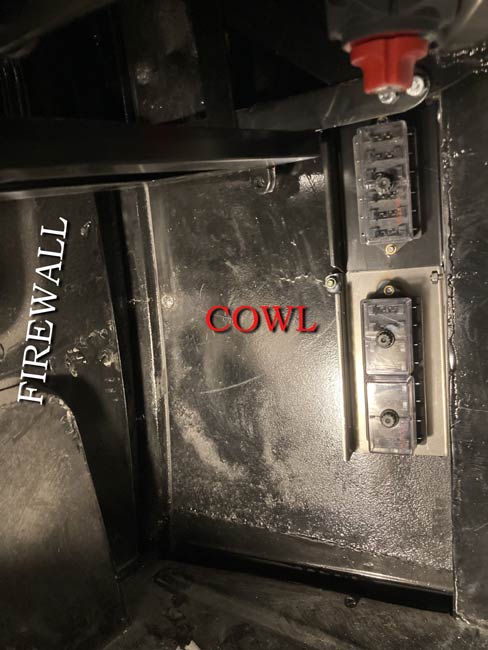
The relays and fuses are all connected now. Everything outside and switches still to go.
|
|
|
|
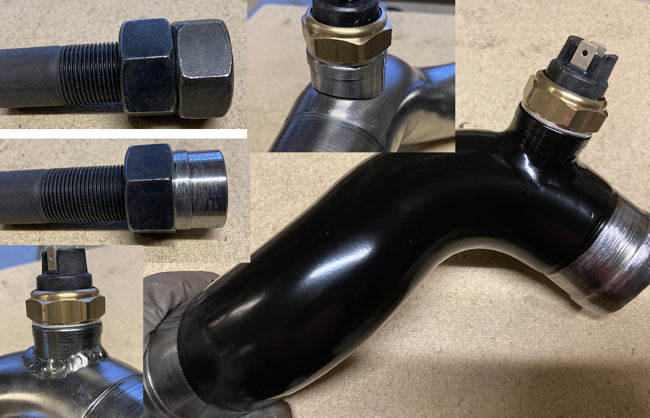
A M22x1.5mm thread bung for the universal style fan thermostat was needed. Itwas turned from a nut on the lathe and welded to the lower radiator tube.
|
|
A bunch of details done, filled oil, oil filter on, checking for oil pressure, filling the power steering fluid reservoir, hoses done, coolant, fuel lines and filters, fuel pump...
This was fun!
|
|
|
|
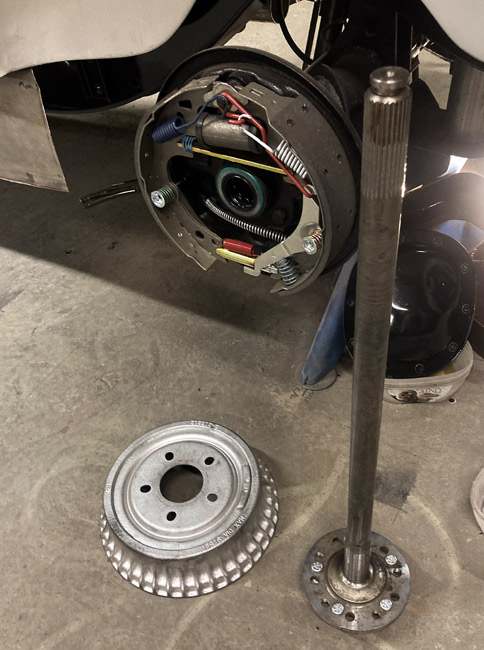
A brand new wheel bearing was replaced yesterday after finding out that the Moser drive shafts are meant to work with C-clip eliminators, not the original style wheel bearings. The stock drive shafts will be used, and a repair bearing has to be used on the driver's side.
New studs were ordered, and now another pair of driveshafts have to be redrilled for 5 on 5-1/2" bolt pattern.
|
|
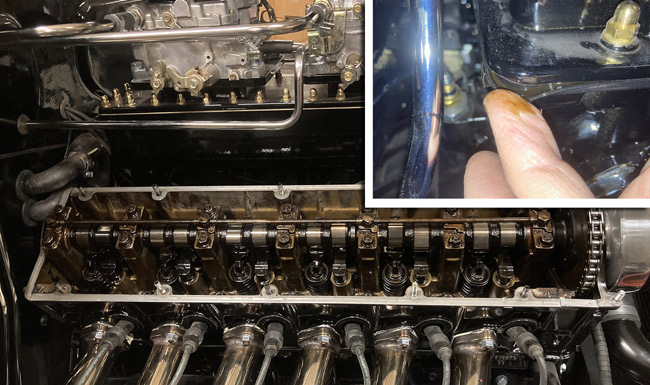
Oil leaked onto the floor, dripping off the bell housing. Apparently the oil was trailing from the valve cover down the crack between the engine block and the transmission adapter, because after getting the valve cover repaired and reselaled, there's no more oil leaking. |
|