
|
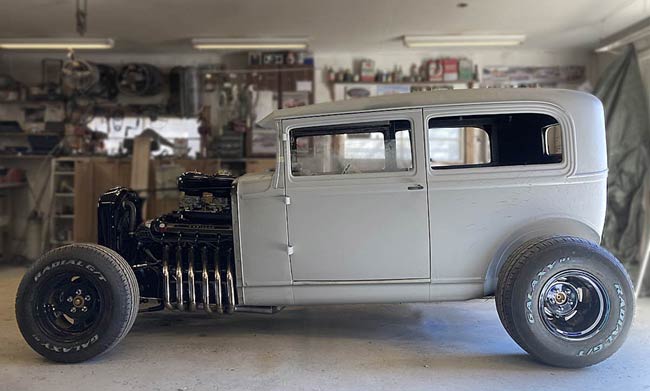
Page 2 The project begins |
|
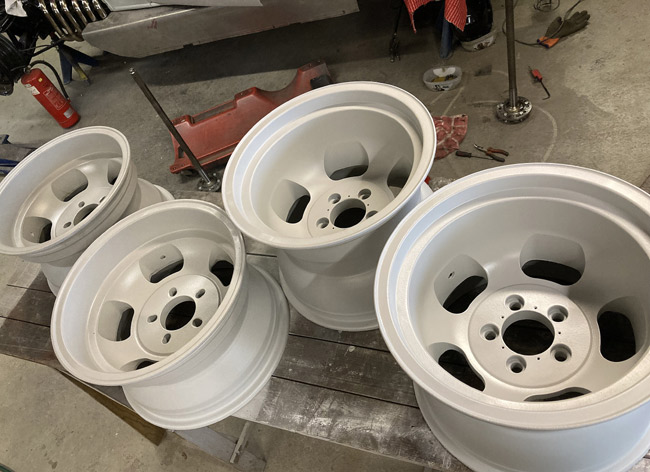
The wheels are back from the sand blaster's where they got sprayed with epoxy. Some sanding and painting coming up soon. There's been a lot of deliberating over the color choice, ideas ranging from "gold chrome" powder coating, through to gold metallic and black gloss.
|
|
|
|
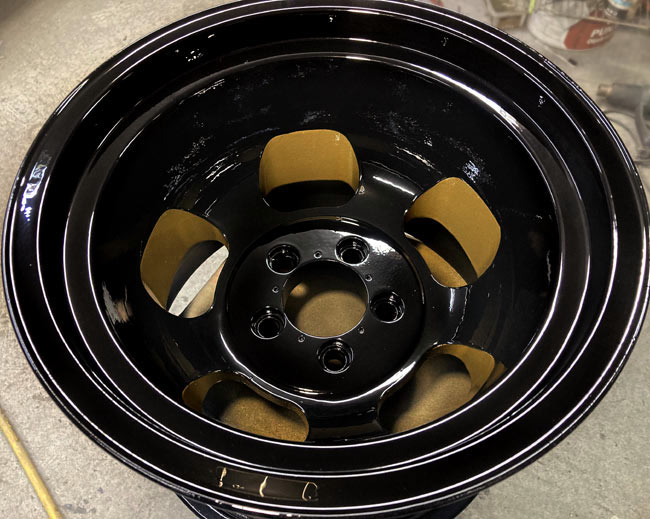
Black and gold it is. Sanding, painting, masking, more painting and finally a gloss clear finish, it took a surprising amount of time to get done. |
|
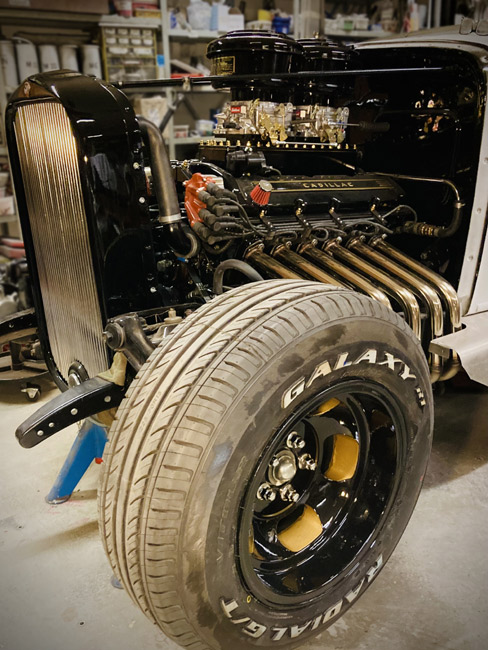
The tires are back on the rims again. Another of those things that make it all look a tiny bit closer to done. |
|
|
|
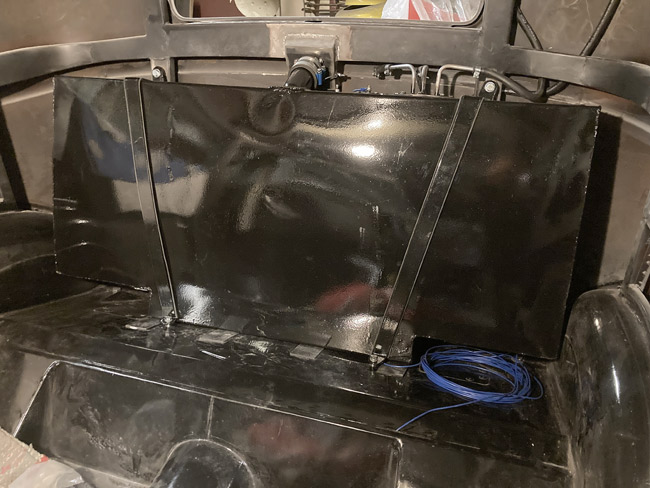
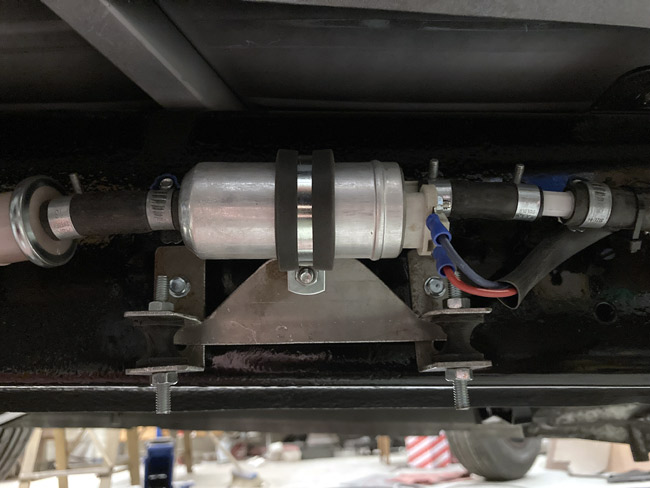
The fuel tank was taken out of storage, and mounted with its fuel line and all. The vent hose is seen snaking its way up towards the roof and back down behind the tank, out through the floor. The return line is just blocked off, as we're running a non return fuel system.
Edit: |
|
The rotor style fuel pump is loud, and to get it a bit quieter, the pump was mounted to a bracket that stands on two soft rubber mounts. This proved to be very efficient, the noise from the fuel pump is hardly noticeable now. |
|
|
|
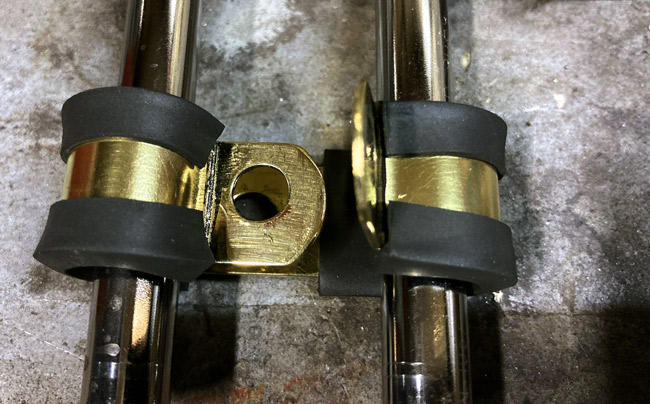
Two fuel lines come up along the firewall, held with P-clamps. A home made brass double P-clamp will look right at home were it mounts. |
|
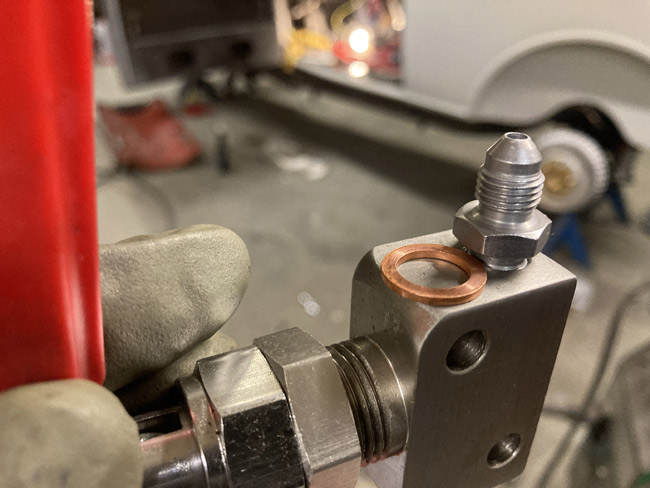
Brakelines done, but the brake proportioning valve leaked at this copper seal, even after changing it twice. A second valve leaked at the same seal.
|
|
|
|
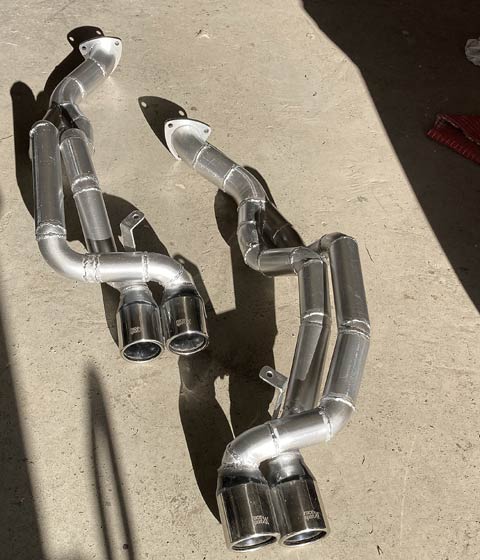
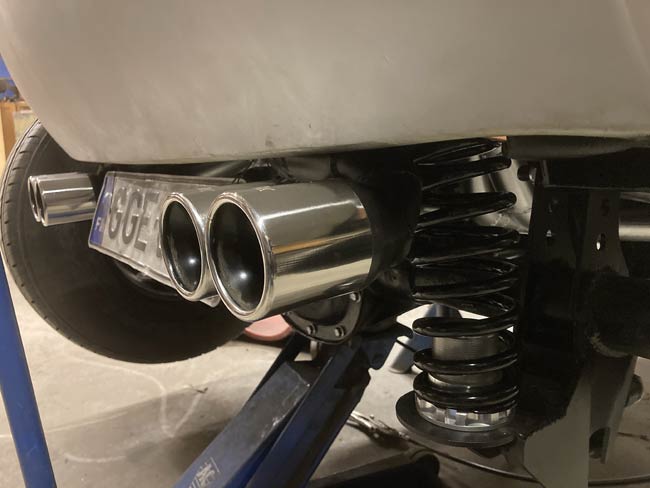
Before filling the tank with fuel, the rest of the exhaust work was done, to avoid welding right under a brand new tank full of gas.
|
|
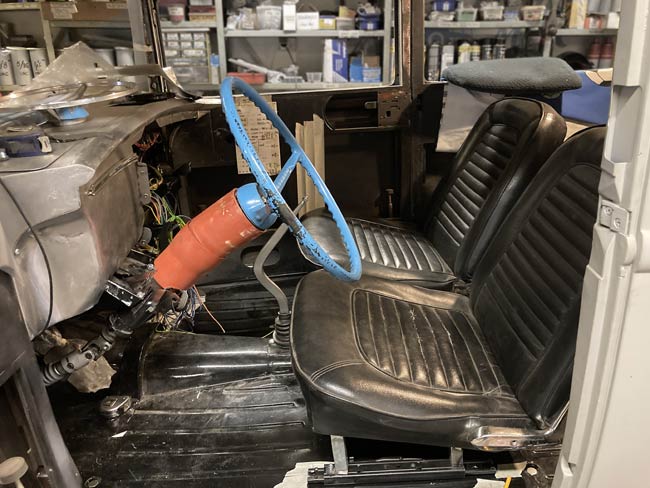
Seats out of a 1965 Mustang are mounted to Renault adjusters. |
|
|
|
After changing to a new metal fuel line, the exhaust could be mounted along with rear springs.
|
|
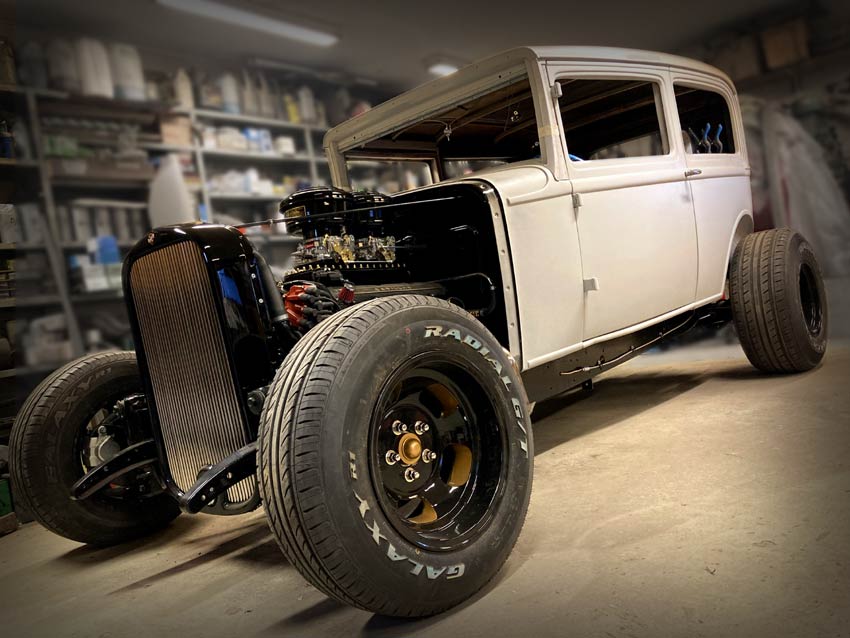
New front springs mounted.
The first test drive is so close. |
|
|
|
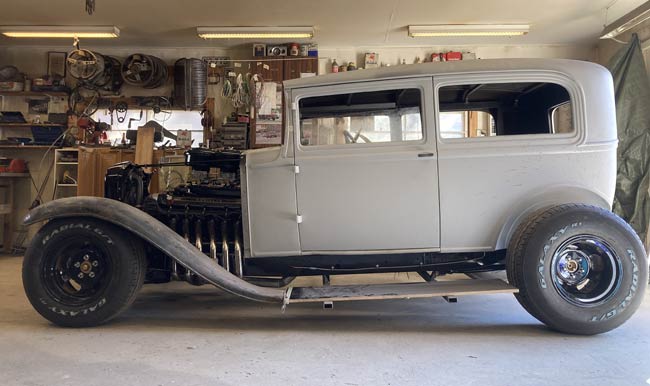
Finally, after over five years, time for a little test drive. |
|
After measuring the window openings, making patterns and ordering the window glass, work on the fedes could begin.
|
|
|
|
A panel to cover the frame was dreamed up in Photoshop. it makes the proportions of the body look much better.
|
|
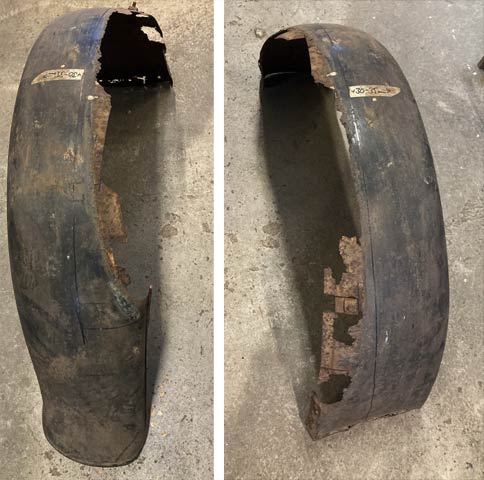
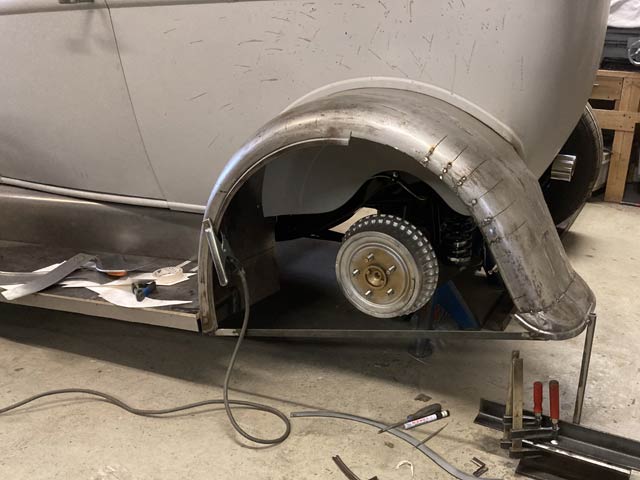
This is the driver's side rear fender seen from both sides right after it being dug out of storage.
|
|
|
|
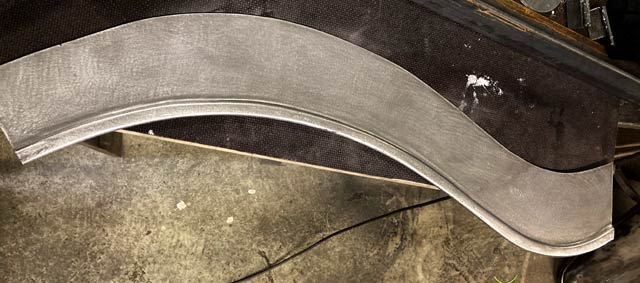
Two 9" wide pieces of sheet metal were cut out, and rolled loosely to the shape of the fenders with a slip roller. |
|
Some measuring later the new piece was welded to the rear fender, effectively widening it and getting the rust work done at once. |
|
|
|
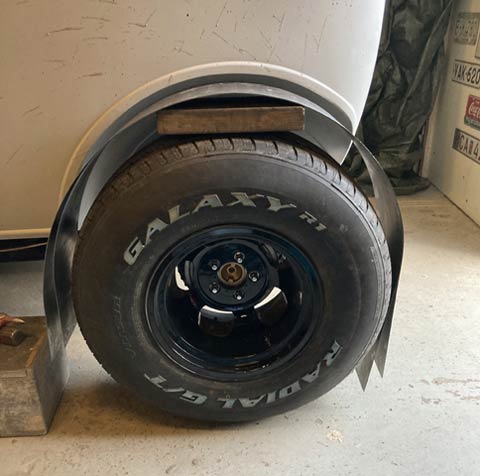
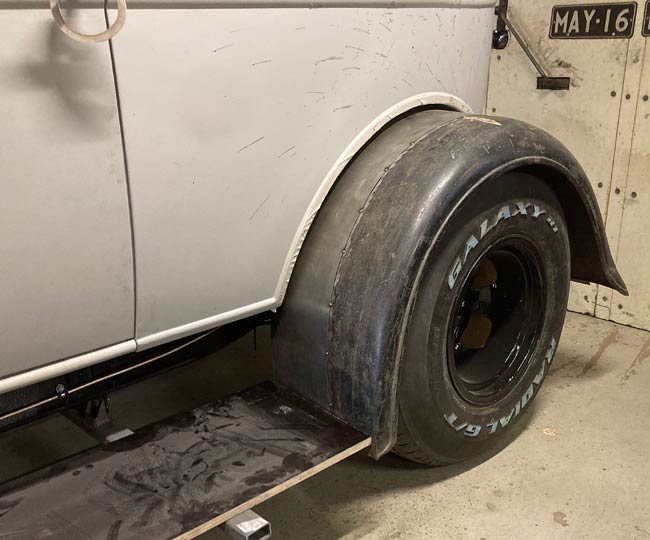
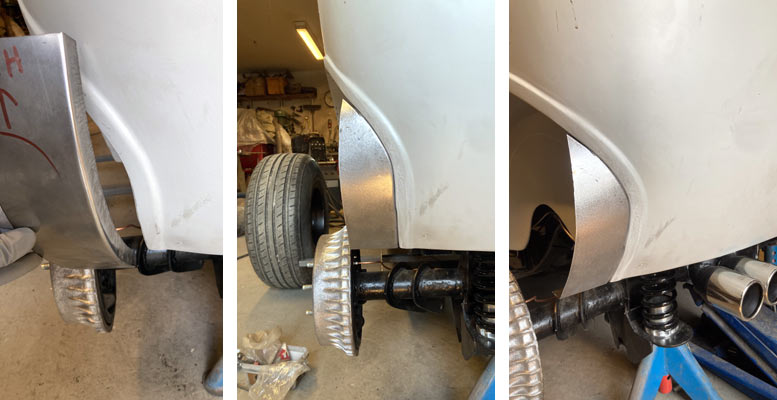
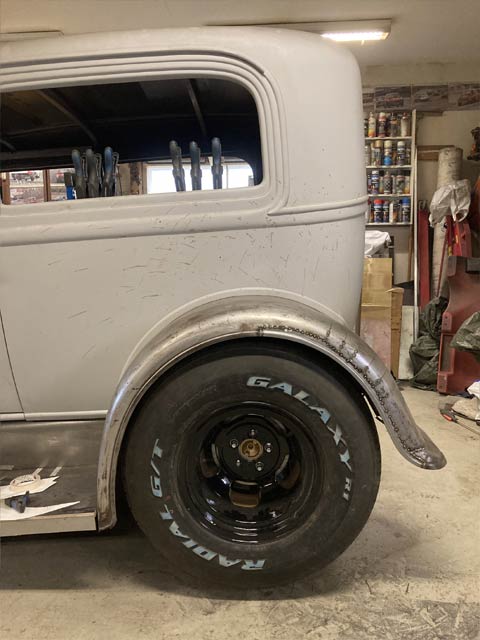
Using just sheet metal screws, the fender was fastened to the body. It seems to fit pretty nicely. |

|
The rear of the fender was widened to fit with the tire centered. This meant that a filler piece was needed between the fenderwell and the fender itself.
|
|
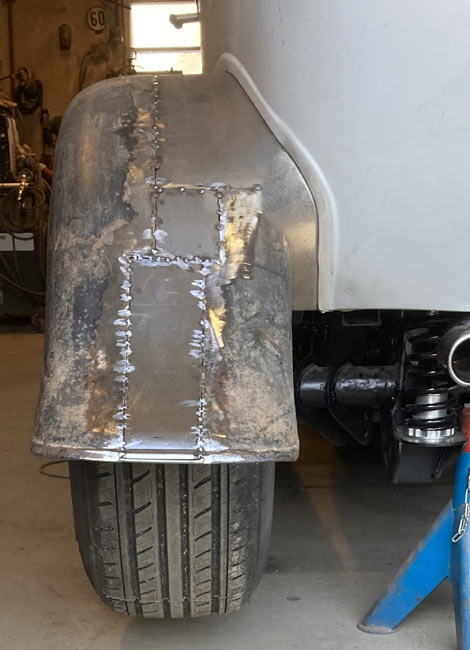
Filler piece made in real.
|
The fender looked oddly wide, so some pie cuts were made and it was tack welded to a tigher shape. |
|
|
|
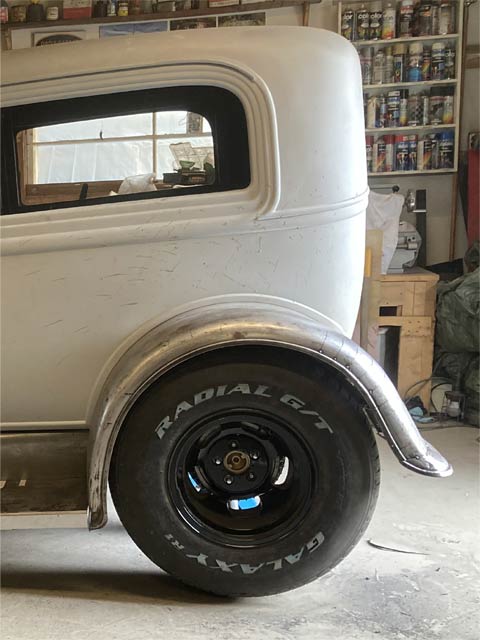
That done, the curve of the fender edge was no longer smooth, so shapes for new ones were drawn, then cut out of sheet metal. A bead was rolled along the edge, and finally a 1/4" steel rod was welded to it to emulate the look of the original rolled fender edge. |
|
A piece of flat bar was tacked to both ends of the fender to keep its shape, also a rod was attached to a piede of H-beam to help keep things in place before the old fender lip was cut away. |
|
|
|
The new fender lip tacked in. Most of the new sheet metal, originally there to keep things in shape while working on it, was cut away. |
|
Finally a first test drive.
All in all a successful first drive and great inspiration for the coming winter's work. |
|