|
Page 2 The project begins |
|
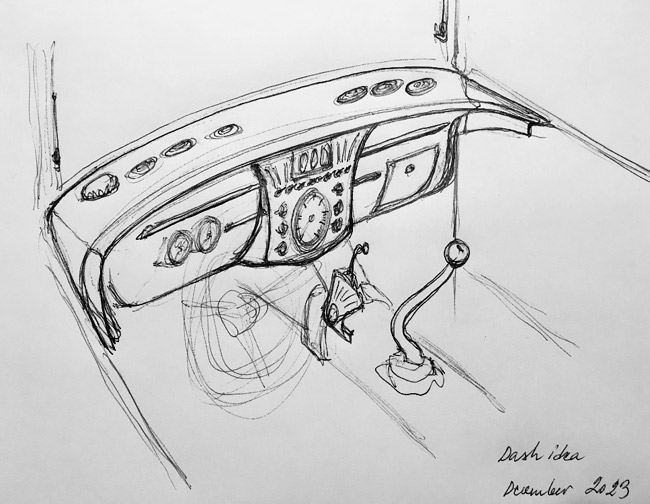
A bunch of sketches for the dash have been done over the years, this is just one example and right now it illustrates what we're aiming for. |
|
|
|
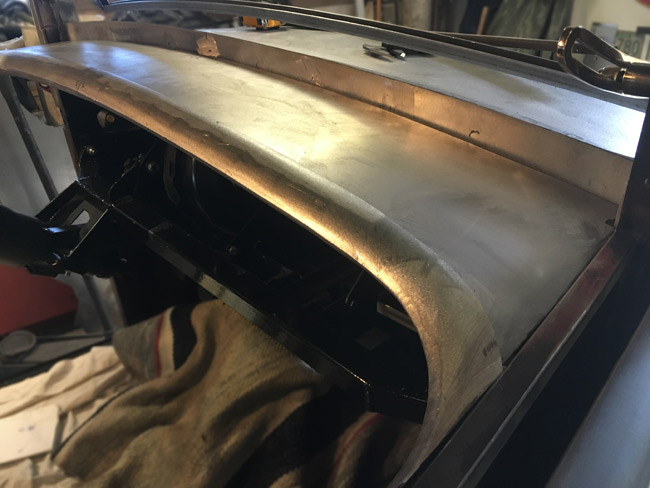
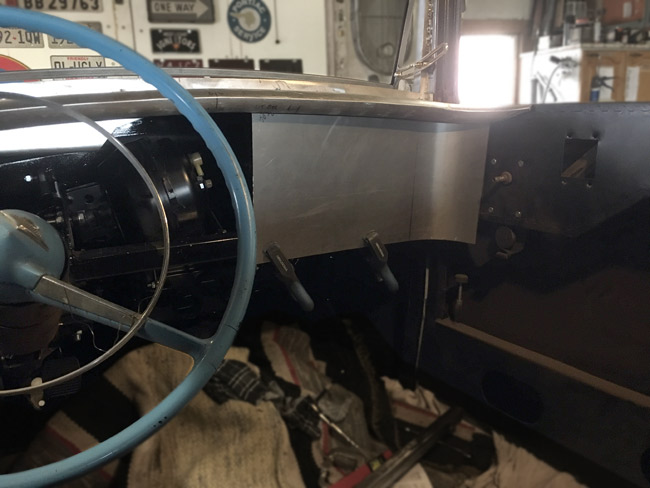
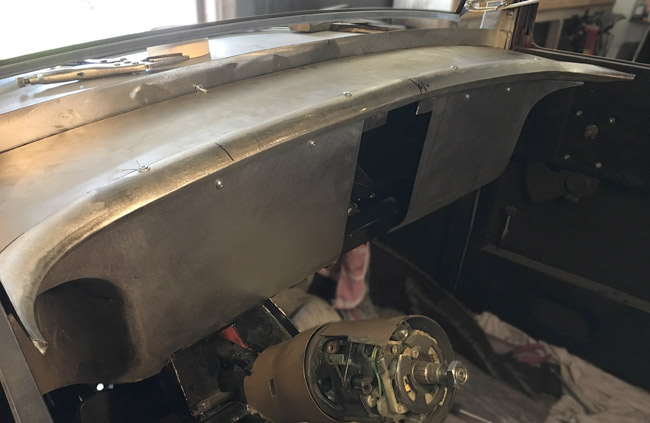
The curved dash top is in place with its edge profile. |
|
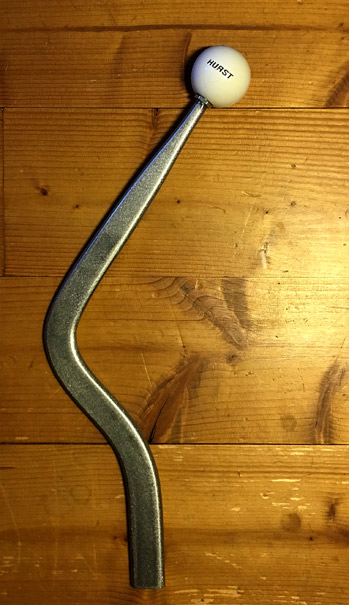
A fun break from the dash work making the shifter.
|
|

|
|
Un undisclosed amount of grinding, filing and sanding was done to get this result. The top of the shifter was ground round and 3/8"UNC threads were cut for the Hurst ball to fit.
|
|
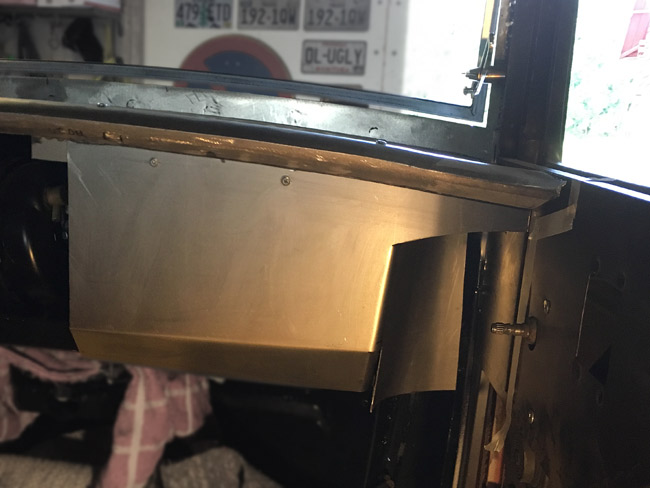
Continuing on the dash, making the right hand side. The swooping line going towards the door looks nice. |
|
|
|
Luckily a buddy noticed that the window crank wouldn't work with the swooping dash end, and a new design had to be whiped up on the fly.
|
|
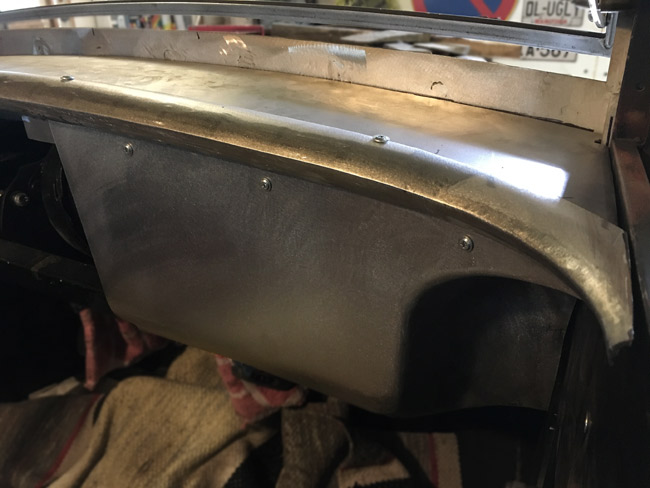
After rounding the whole thing up as much as possible, it looks fairly good again. So now just make another of these, mirrored. |
|
|
|
And there it is, measures taken and some cuts done, then onto hammering and welding. |
|
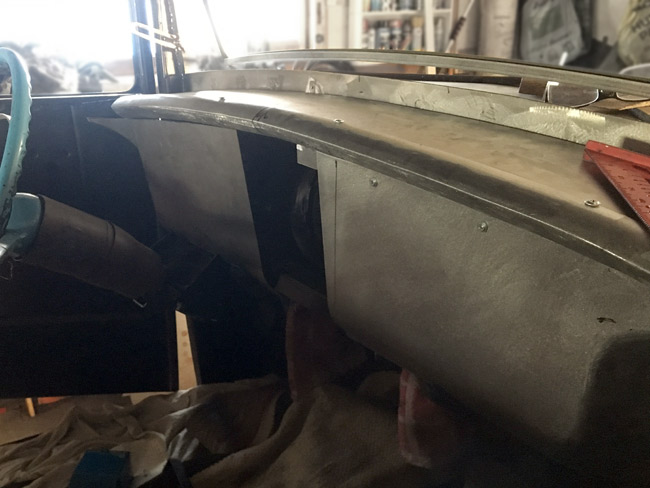
The left side dash panel has been ground, hammered and sanded. The driver's side end of the top edge profile is done now too. |
|
|
|
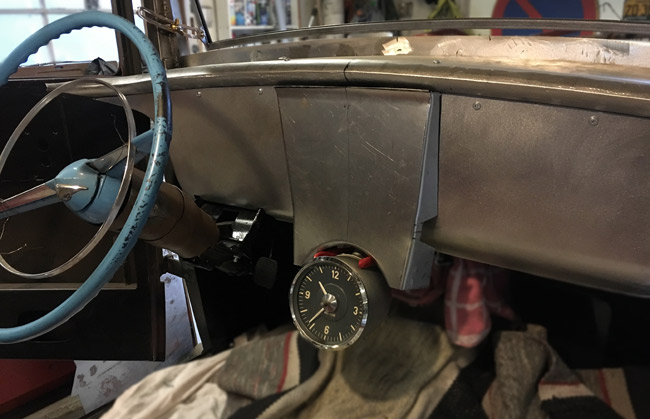
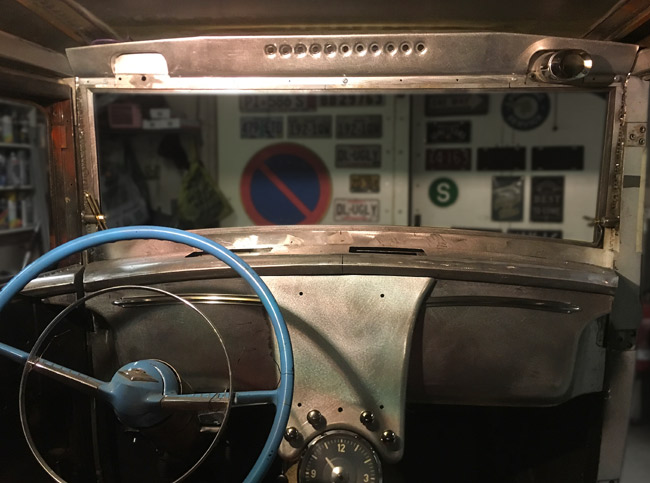
Center piece making while designing and planning. The clock has been bolted to the roof of an old bus, and will be modified as a tach at some point. |
|
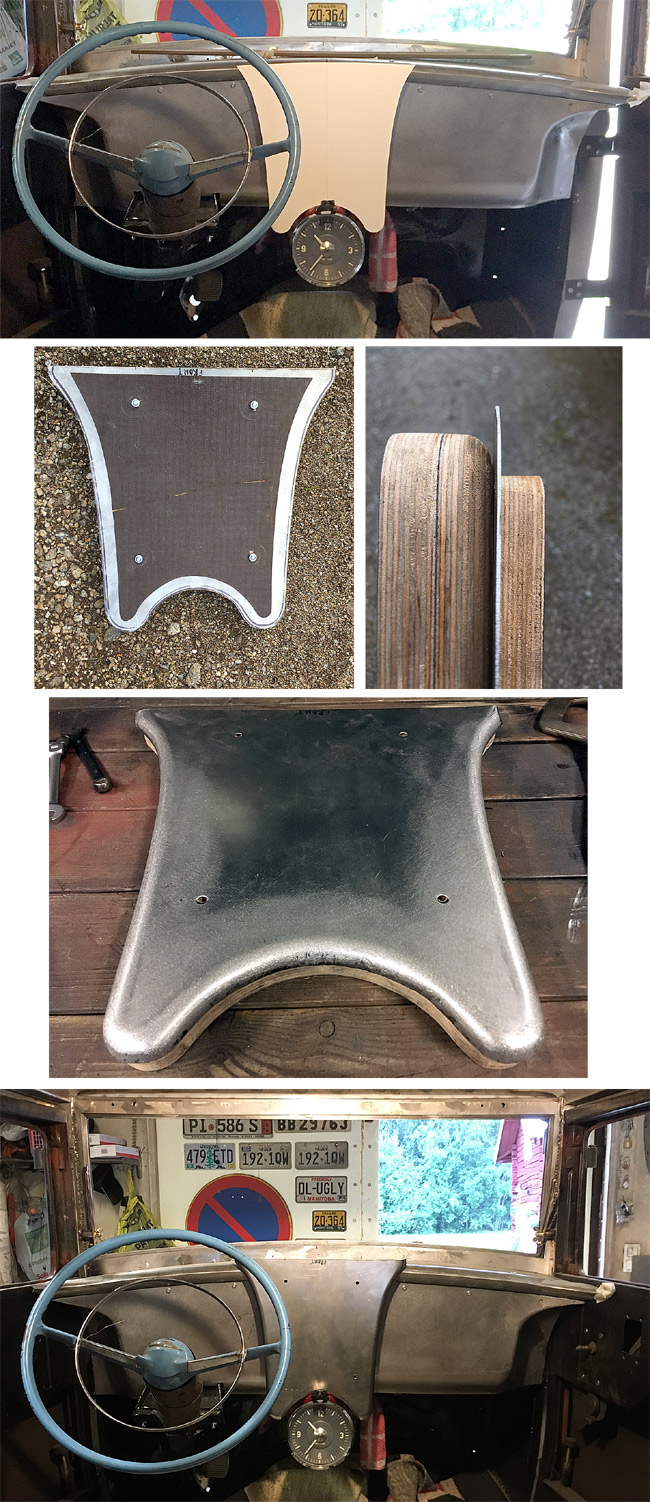
The center part of the dash looked too angular.
A new design was drawn up then a hammer form was made from plywood.
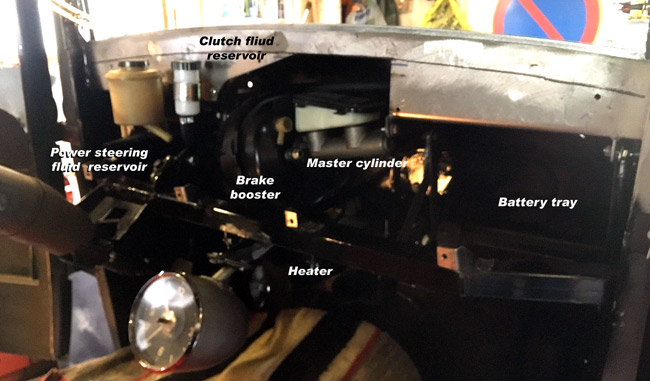
Some cutting and welding was done at the lower rounded corners as expected. You only get sheet metal to shrink so much in such a small area. The clock (future tach) might be moved down and backward a bit, and the sides have to be added to thecenter part to make it fit against the side panels. A lot of planning has been donet, on how to get the whole dash assembled and then to be able to disassemble it. How to get service done, and how to change the brake booster and on and on. |
|
|
|
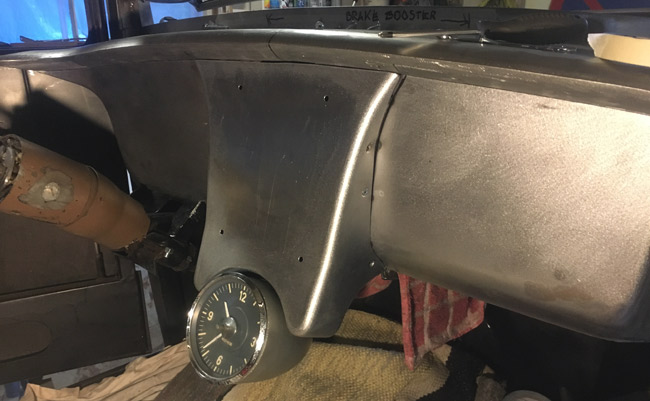
The center section fitted to the dash. The bottom back edge got a 1/4" round bar bent to shape, welded and blended in, which makes it look more factory. The clock was moved down about an inch.
|
|
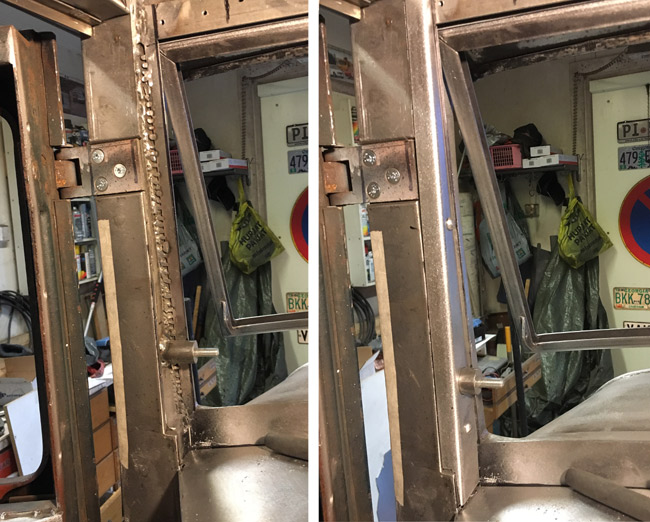
Part of the dash is going with the door. Here's the piece behind which the door card will go.
The dash was cut at an angle towards the A-pillar.
When the door is closed, there's a sixteenth or two of gap. To make disassembly of hte dash possible, the bottom part has to be fastened with sheet metal screws. |
|

|
|
The dash was disassembled to make service openings in the top. It's pretty busy there already and it will be very well filled when the electricals are done.
Hatches themselves still to be done, they will be held in place with some kind of knobs.
|
|
Left over brightwork from a 1938 Chrysler restoration provide some bling. They are mounted with small screws that fit in the channel on the back of the trim peaces. A small blob of weld prevent the scews from turning when mounting the nuts.
|
|

|
|
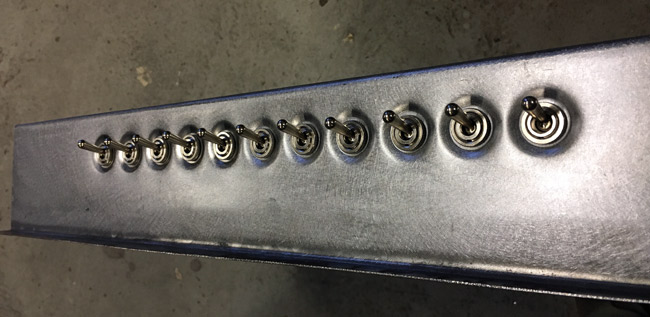
A simple dimple die was made to sink the switches slighty into the roof panel
|
|
Dash and roof panel with cut outs for wiper motors. |
|
|
|
The unsightly A-pillars got covers done, which make them look much tidier.
|
|
The right hand door had a row of rust holes.
|
|

|
|
The flange was welded to the old door skin flange and ground flat.
|

|
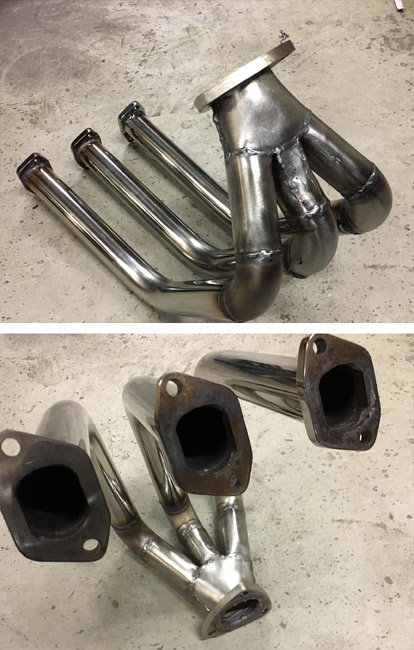
The Collectors neede to be made, they are made from stainless steel.
|
|
|
|
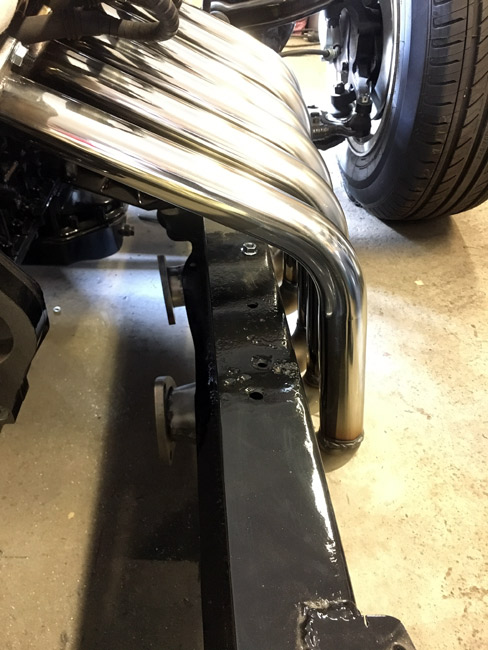
Rear view of the right hand side headers with collectors.
|
|
|
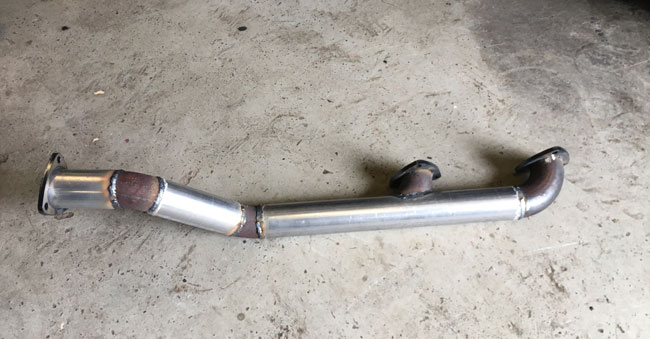
The collectors dump their gasses into this piece of exhaust tubing.
|
|
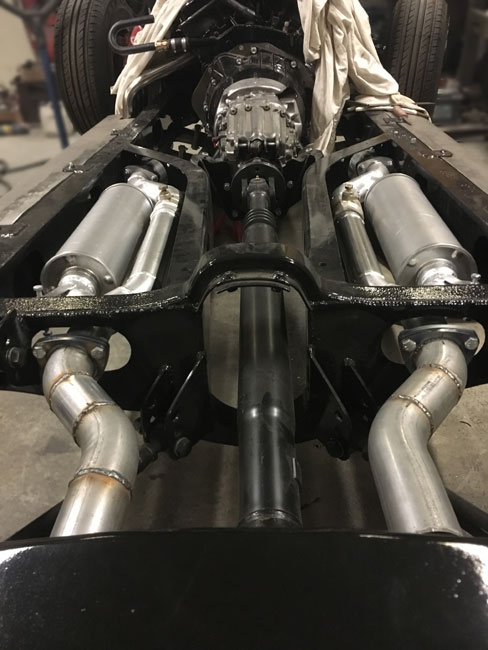
The exhaust system done all the way to the rear axle. The rest of it needs to be done after the body is back on the frame |
|
|
The new radiator got mounting holes drilled, it was mounted in the grille shell and bolted
to the front cross member.
|
|
|
|
Runningboard mounts done and trial fitted with the fenders just to see where we're going.
|
|
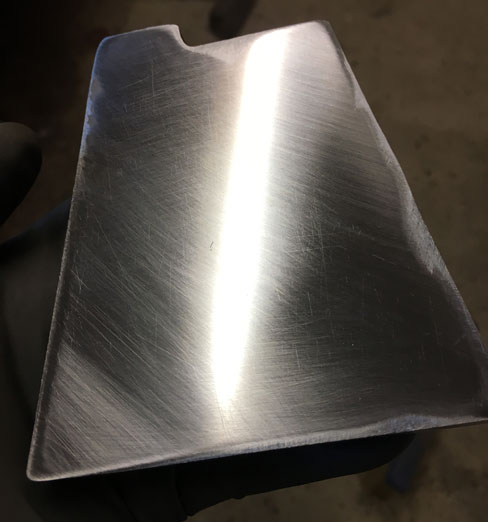
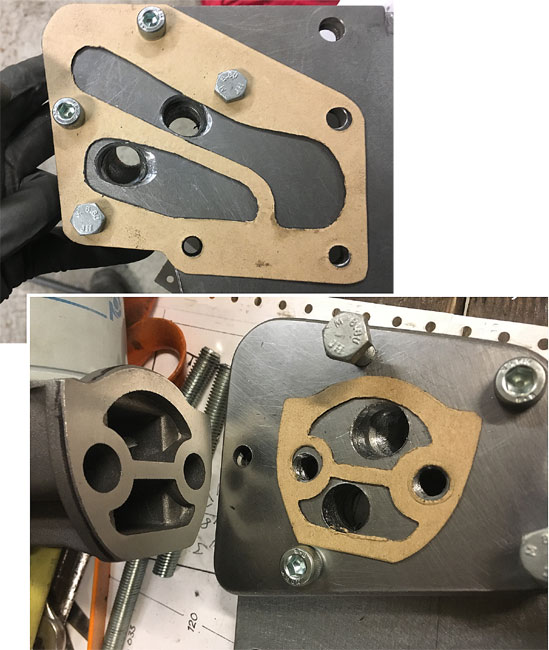
Then on to the oil filter adapter/spacer. The part was ordered plasma cut from 20 mm thick (about3/8") plate. |
|

|
|
The surfaces had to be sanded flat on a piece of thick glass on both sides to achieve a somewhat decent mating surface for the gaskets.
|
|
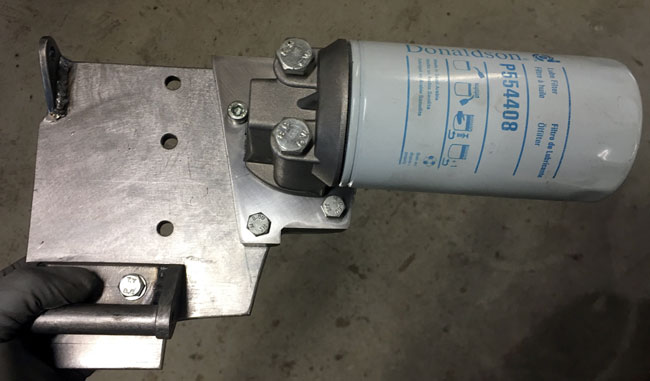
The oil filter adapter assembly bolted together here. |
|
|
|
The oil passages drilled and ground. One is sraight through, but the other one needed to be a bit crooked to work right. Neater gaskets were made for final assmebly
|
|
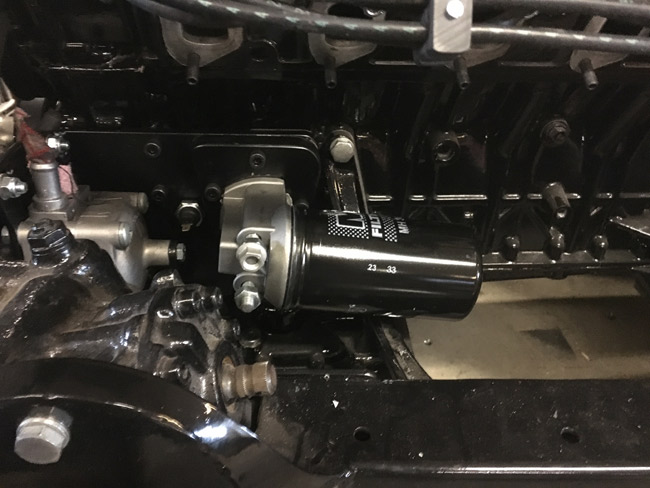
The whole thing trial fitted to the engine block before paint. |
|
|
|
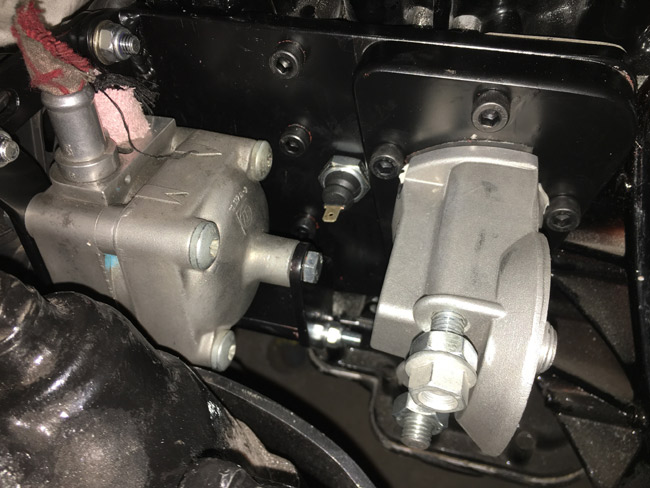
Almost forgot the oil pressure sensor. It fits nicely behind the power steering pump.
|
|
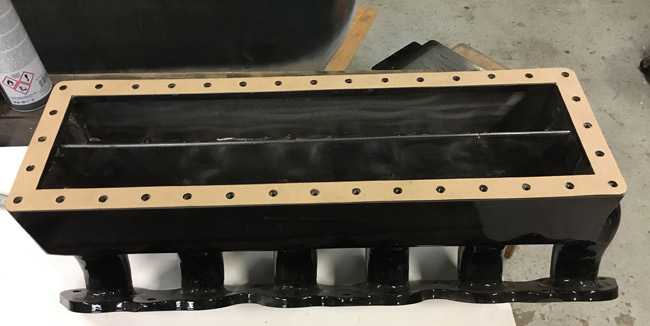
The intake has just been sitting on top of the engine since it was made, so it too needed gaskets.All bolts fit nicely, this was as straightforward as mounting any aftermarket intake. |
|
|
|
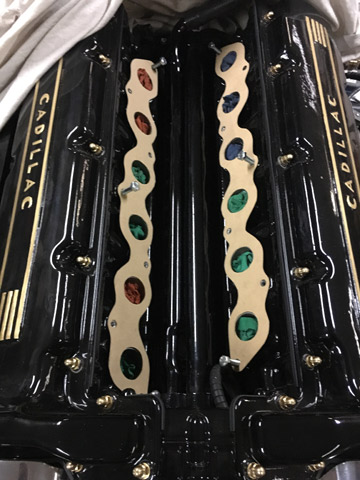
The top of the intake also got its own gasket.
|
|
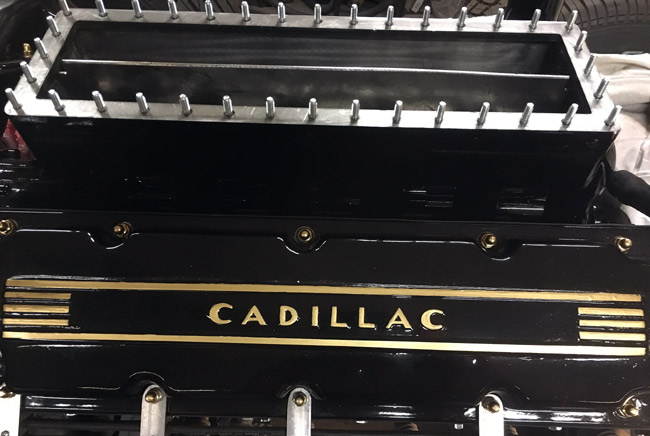
34 studs. All these sheet metal parts were laser cut, and the precision is awesome, the top part of the intake fits any way you put it on. Hard to achieve with hand tools for sure. |
|
|
|
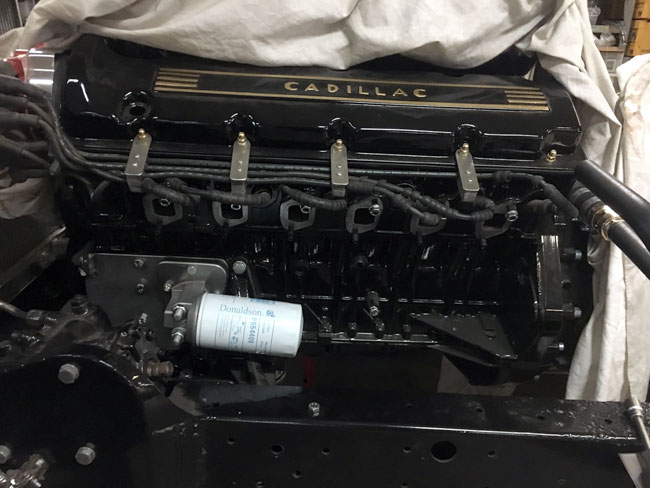
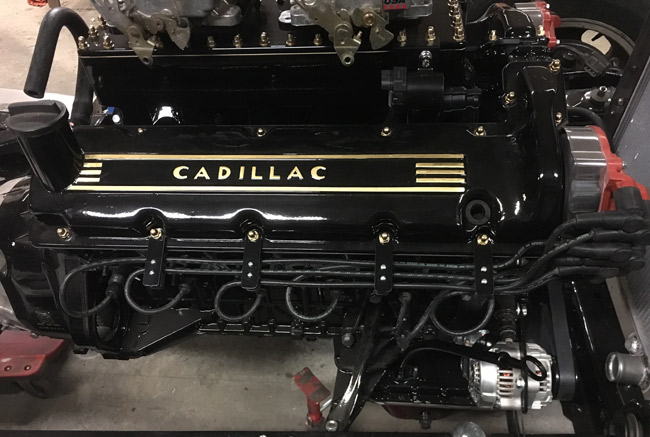
The intake top mounted with polished and clearcoated brass nuts, LS2 coils with their mounts, spark plug wire looms and the shortened dipstick right above the alternator.
|
|
The oil filter mount done with a new better looking black spin on filter. The reason for getting a new filter is not the color, but the fact that this type of filter has an anti drain back valve. |
|